> For the complete documentation index, see [llms.txt](https://jheck.gitbook.io/hadoop/llms.txt). Markdown versions of documentation pages are available by appending `.md` to page URLs; this page is available as [Markdown](https://jheck.gitbook.io/hadoop/introduction_hadoop_mapreduce.md).
# Introduction to Hadoop and Big Data
## Big Data
### What is Big Data
**Definition in** [**Oxford English Dictionary**](http://www.oed.com/view/Entry/18833)
big data n. Computing (also with capital initials) data of a very large size, typically to the extent that its manipulation and management present significant logistical challenges; (also) the branch of computing involving such data.
**Definition in** [**Wikipedia**](https://en.wikipedia.org/wiki/Big_data)
Big data is a term for [data sets](https://en.wikipedia.org/wiki/Data_set) that are so large or complex that traditional [data processing](https://en.wikipedia.org/wiki/Data_processing) [application software](https://en.wikipedia.org/wiki/Application_software) is inadequate to deal with them. Big data challenges include [capturing data](https://en.wikipedia.org/wiki/Automatic_identification_and_data_capture), [data storage](https://en.wikipedia.org/wiki/Computer_data_storage), [data analysis](https://en.wikipedia.org/wiki/Data_analysis), search, [sharing](https://en.wikipedia.org/wiki/Data_sharing), [transfer](https://en.wikipedia.org/wiki/Data_transmission), [visualization](https://en.wikipedia.org/wiki/Data_visualization), [querying](https://en.wikipedia.org/wiki/Query_language), updating and [information privacy](https://en.wikipedia.org/wiki/Information_privacy).
Lately, the term "big data" tends to refer to the use of [predictive analytics](https://en.wikipedia.org/wiki/Predictive_analytics), [user behavior analytics](https://en.wikipedia.org/wiki/User_behavior_analytics), or certain other advanced data analytics methods that extract value from data, and seldom to a particular size of data set.
### Challenges of Big Data
**Scalability**: being able to accommodate (rapid) changes in the growth of data, either in traffic or volume.
* Scaling up, or vertical scaling, involves obtaining a faster server with more powerful processors and more memory.
* Scaling out, or horizontal scaling, involves adding servers for parallel computing.
**Complexity**: scalable systems are more complex than traditional ones.Techniques like Shards (or partitioning), Replicas, Queues, Resharding scripts can be difficult to setup and maintain. Parallel programming is complex.
**Reliability**: Corrupted data, downtime, human mistake, etc. are more likely to happen on a complex system.
## Hadoop
### History of Hadoop
The set of storage and processing methodologies commonly known as “Big Data” emerged from the search engine providers in the early 2000s, principally Google and Yahoo!. The search engine providers were the first group of users faced with Internet scale problems, mainly how to process and store indexes of all of the documents in the Internet universe.
In 2003, Google released a whitepaper called [“The Google File System”](https://static.googleusercontent.com/media/research.google.com/en/archive/gfs-sosp2003.pdf). Subsequently, in 2004, Google released another whitepaper called [“MapReduce: Simplified Data Processing on Large Clusters”](https://static.googleusercontent.com/media/research.google.com/en/archive/mapreduce-osdi04.pdf). At the same time, at Yahoo!, Doug Cutting (who is generally acknowledged as the initial creator of Hadoop) was working on a web indexing project called **Nutch**.
The Google whitepapers inspired Doug Cutting to take the work he had done to date on the Nutch project and incorporate the storage and processing principles outlined in these whitepapers. The resultant product is what is known today as Hadoop.
In January 2008, Hadoop was made its own top-level project at Apache, confirming its success and its diverse, active community.•Today, Hadoop is widely used in mainstream enterprises.
### What is Hadoop
Hadoop is a **framework** that allows for distributed storage and distributed processing of large data sets across clusters of computers using simple programming models.
* A software framework is an abstraction in which common code providing generic functionality can be selectively overridden or specialized by user code providing specific functionality.
* A computer cluster is a set of loosely or tightly connected computers that work together so that, in many respects, they can be viewed as a single system. Individual computers within a cluster are referred to as nodes.
Hadoop is designed to scale out from a single server to thousands of machines, each machine offers local computing and storage capabilities.
### Hadoop Ecosystem

With other components such as:
* **Sqoop**: used to transfer bulk data between Apache Hadoop and structured datastores such as relational databases.
* **Flume**: is a distributed, reliable, and available service for efficiently collecting, aggregating, and moving large amounts of streaming data into HDFS.
* **Oozie**: is a workflow scheduler system to manage Apache Hadoop jobs
* **Kafka**: is a highly scalable, fast and fault-tolerant messaging application used for streaming applications and data processing.
* **Hue**: is a Web application for querying and visualizing data by interacting with Apache Hadoop.
* **Ambari**: provides an intuitive, easy-to-use Hadoop management web UI backed by its RESTful APIs.
### Hadoop Commercial Landscape
Hadoop is an open source project but there are many commercial vendors who supply commercial distributions, support, management utilities and more.
In 2008, the first commercial vendor, Cloudera, was formed by engineers from Google, Yahoo!, and Facebook. Cloudera subsequently released the first commercial distribution of Hadoop, called CDH (Cloudera Distribution of Hadoop).
In 2009, MapR was founded as a company delivering a “Hadoop-derived” software solution implementing a custom adaptation of the Hadoop filesystem (called MapRFS) with Hadoop API compatibility.
In 2011, Hortonworks was spun off from Yahoo! as a Hadoop vendor providing a distribution called HDP (Hortonworks Data Platform).
Cloudera, Hortonworks, and MapR are referred to as “pure play” Hadoop vendors as their business models are founded upon Hadoop. Many other vendors would follow with their own distribution—such as IBM, Pivotal, and Teradata.
## Connect to an AWS EC2 instance using SSH
This section will explain how to connect to your EC2 instance using PuTTY (Windows users) or SSH (OS X/Linux users).
**Prerequisites: EC2 instance with Ubuntu Linux installed.**
### Connecting to your EC2 Linux Instance from OSX/Linux:
Open a command-line shell, change directories to the location of the private key file that you created when you launched the instance.
Next you will need to change the permissions of the private key. You can do this by typing the following command:
```
sudo chmod 600
```
Which can be for example:
```
sudo chmod 600 ClouderaCluster.pem
```
If your current directory is not where your private key is located, you need to type in the full path to your private key.
Now you can SSH into the machine by typing:
```
SSH ubuntu@ -i
```
Which can be for example:
```
SSH ubuntu@52.36.64.79 -i ClouderaCluster.pem
```
If prompted "Are you sure that you want to continue?", enter "yes".
**Reference:** [**https://docs.aws.amazon.com/AWSEC2/latest/UserGuide/AccessingInstancesLinux.html**](https://docs.aws.amazon.com/AWSEC2/latest/UserGuide/AccessingInstancesLinux.html)
### Connecting to your EC2 Linux Instance from Windows:
In order to connect from a Windows machine to your Linux EC2 instance via SSH, you need to install:
* PuTTY: a free SSH client ()
* PuTTYgen: a key generator tool for creating SSH keys for PuTTY ()
Download and install the two programs from the link above.
PuTTY does not natively support the private key format (.pem) generated by Amazon EC2. That is why you need PuTTYgen to convert your private key to the PuTTY format (.ppk).
####
#### Convert your private key
1. Open PuTTYgen and make sure that **RSA** is selected under **Type of key to generate**.

2. Click on Load and select the option to display files of all types.

3. Select the **.pem** file for the key pair that you specified when you launched your instance, and then choose **Open**. Click **OK**.
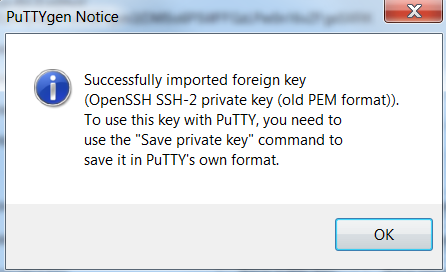
4. Choose **Save private key** to save the key in the format that PuTTY can use. PuTTYgen displays a warning about saving the key without a passphrase. Choose **Yes**.
5. Specify the same name for the key that you used for the key pair. PuTTY automatically adds the file extension.
Your private key is now in the correct format for use with PuTTY. You can now connect to your instance using PuTTY's SSH client.
####
#### Start PuTTY session
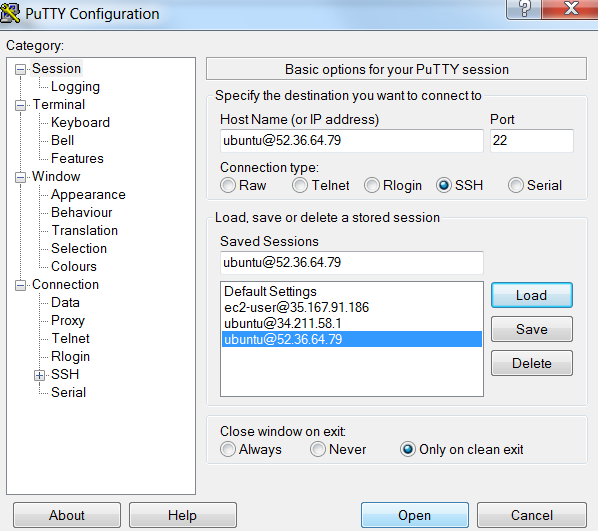
Open PuTTY and complete the Host Name field with the form:
```
ubuntu@
```
Which can be for example:
```
ubuntu@52.36.64.79
```
Make sure that **Port** is 22 and **Connection type** is SSH.
In the **Category** pane, expand **Connection**, expand **SSH**, and then choose **Auth**. Click on **Browse**, select the .ppk file that you generated from your key pair using PuTTYgen, and then choose **Open**.

Optionally, you can save the session information for future use. Choose**Session**in the**Category**tree, enter a name for the session in**Saved Sessions**, and then choose**Save**.
Once done, you can click on Open to start the PuTTY session.
If this is the first time you have connected to this instance, PuTTY displays a security alert dialog box that asks whether you trust the host you are connecting to. Choose **Yes**.
A window opens and you are now connected to your instance.
**Reference:** [**https://docs.aws.amazon.com/AWSEC2/latest/UserGuide/putty.html**](https://docs.aws.amazon.com/AWSEC2/latest/UserGuide/putty.html)
## Install CDH5 on an AWS EC2 cluster
Step by step guide to installing Cloudera CDH5 on an AWS EC2 cluster. It is assumed you already have one or more EC2 instances with Ubuntu up and running in your AWS account.
**Reference:** [**https://www.cloudera.com/documentation/enterprise/latest/topics/cm\_ig\_non\_production.html**](https://www.cloudera.com/documentation/enterprise/latest/topics/cm_ig_non_production.html)
###
### Download and run the Cloudera Manager Installer
Once [connected to the Master Node of your cluster](https://juheck.gitbooks.io/connect-to-an-ec2-instance/content/) using SSH, execute the following commands.
* Download the installer:
```
wget http://archive-primary.cloudera.com/cm5/installer/latest/cloudera-manager-installer.bin
```
* Change permissions of ***cloudera-manager-installer.bin*** to have executable permission:
```
chmod +x cloudera-manager-installer.bin
```
* Run the Cloudera Manager Server installer:
```
sudo ./cloudera-manager-installer.bin
```

#### Read and Accept the Associated License Agreements
After running the Cloudera Manager installer, you should see the following screen:
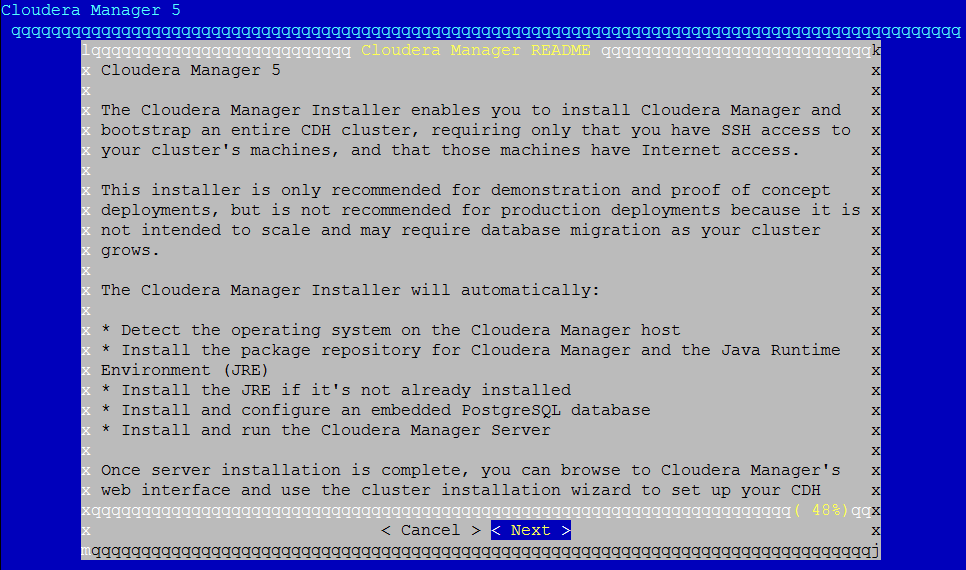
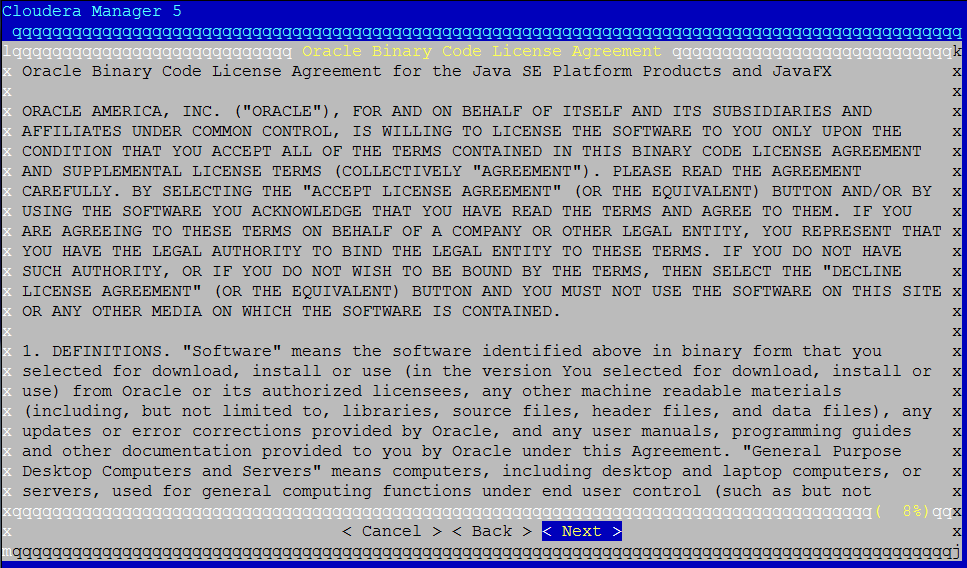
Click "Next", and you’ll see the following screen:
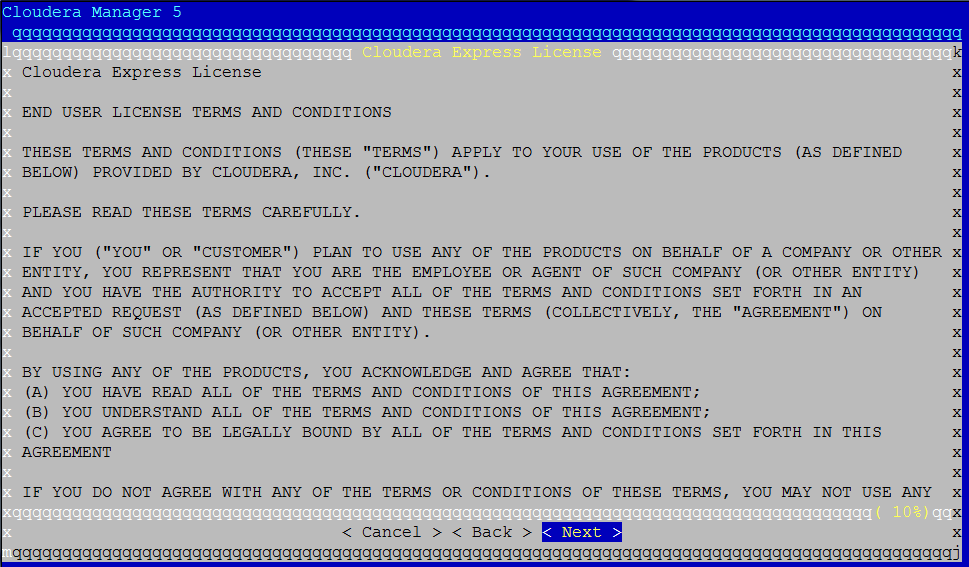
Click “Next” again to see the following screen. Move to “Yes” and accept the license
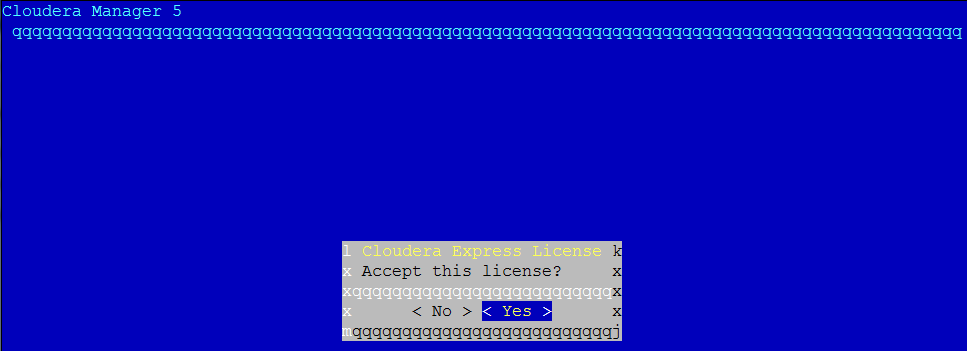
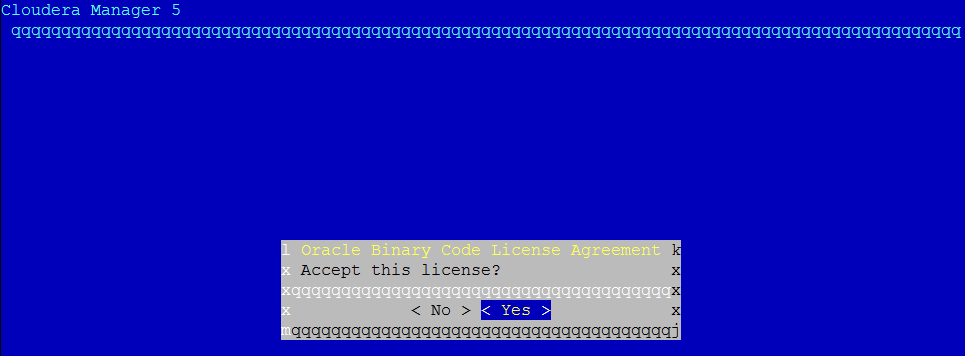
Click “Next” on the following screen:
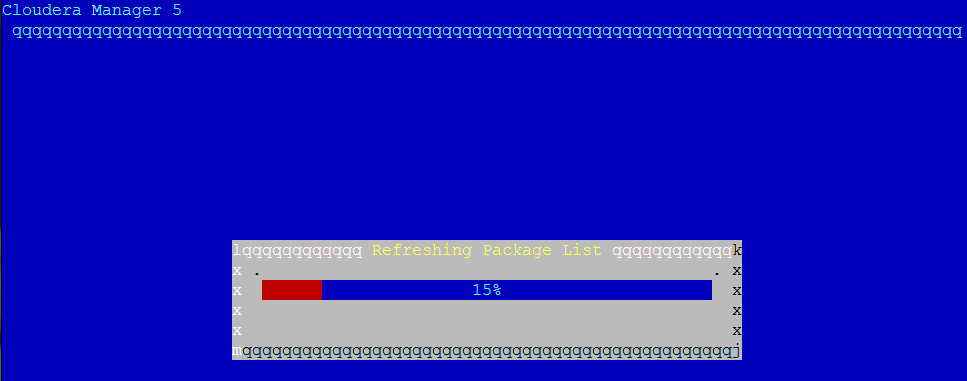
Again move to “Yes” and accept the license:
Cloudera Manager is now being installed on your EC2 instance. It may take several minutes to finish:
After it is done, you should see the following screen:
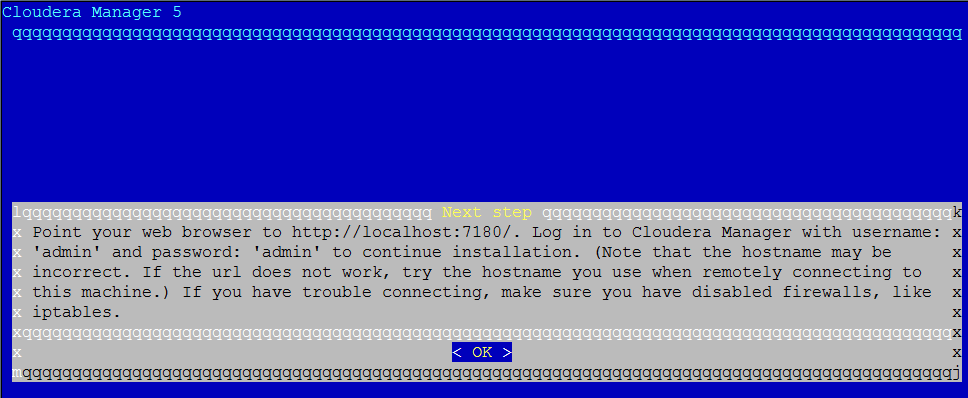
You can now log into the Cloudera Manager to finish the installation.
### Log into the Cloudera Manager
In a web browser, enter the Cloudera Manager URL. The Cloudera Manager Server URL (displayed by the installer in the previous step) takes the following form:
```
http://server_host:7180
```
For example, the Cloudera Manager URL can be something like:
```
http://ec2-52-36-64-79.us-west-2.compute.amazonaws.com:7180
```
The login screen for Cloudera Manager displays:
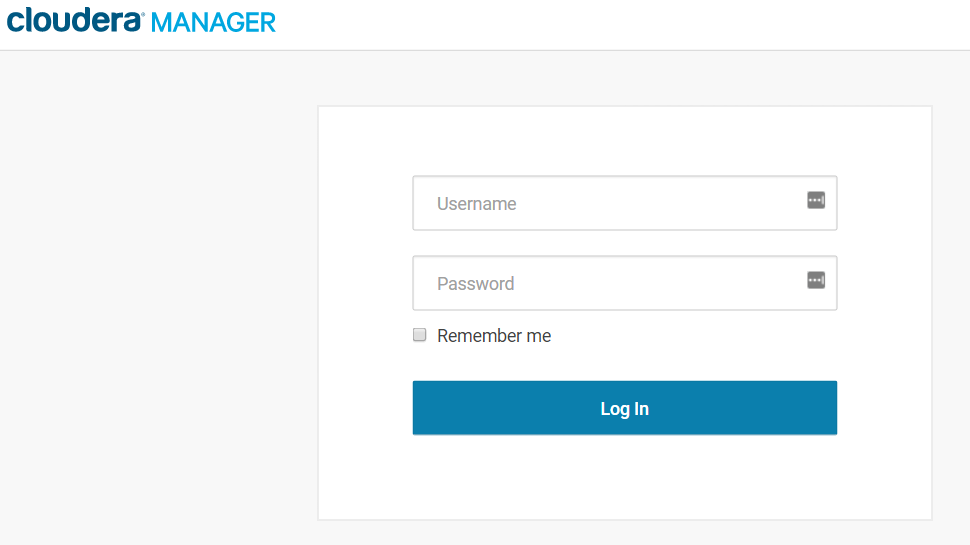
Type "admin" for both Username and Password.
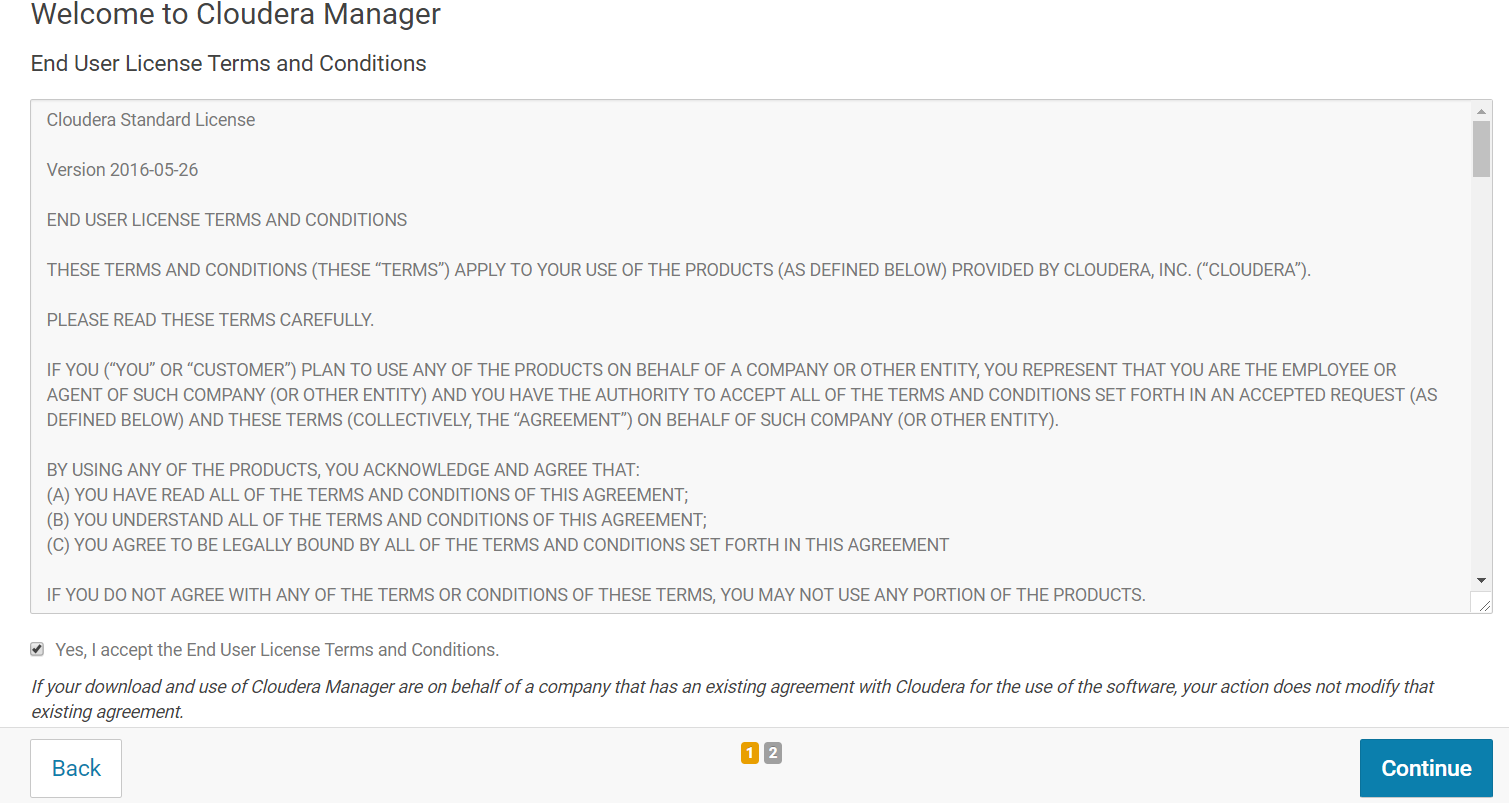
After you log in, the **End User License Terms and Conditions** page displays. Select "Yes" and click on "Continue".
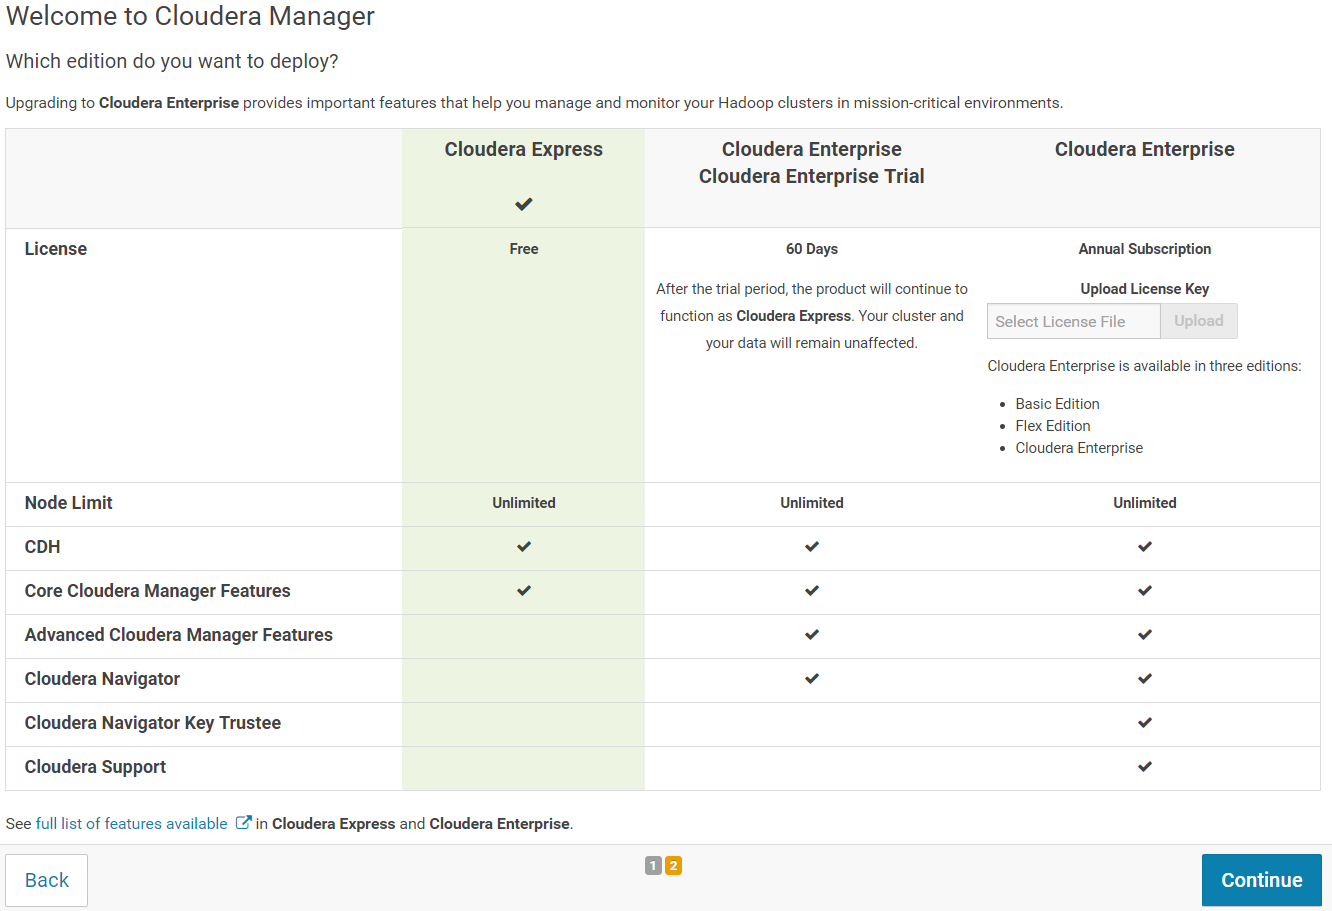
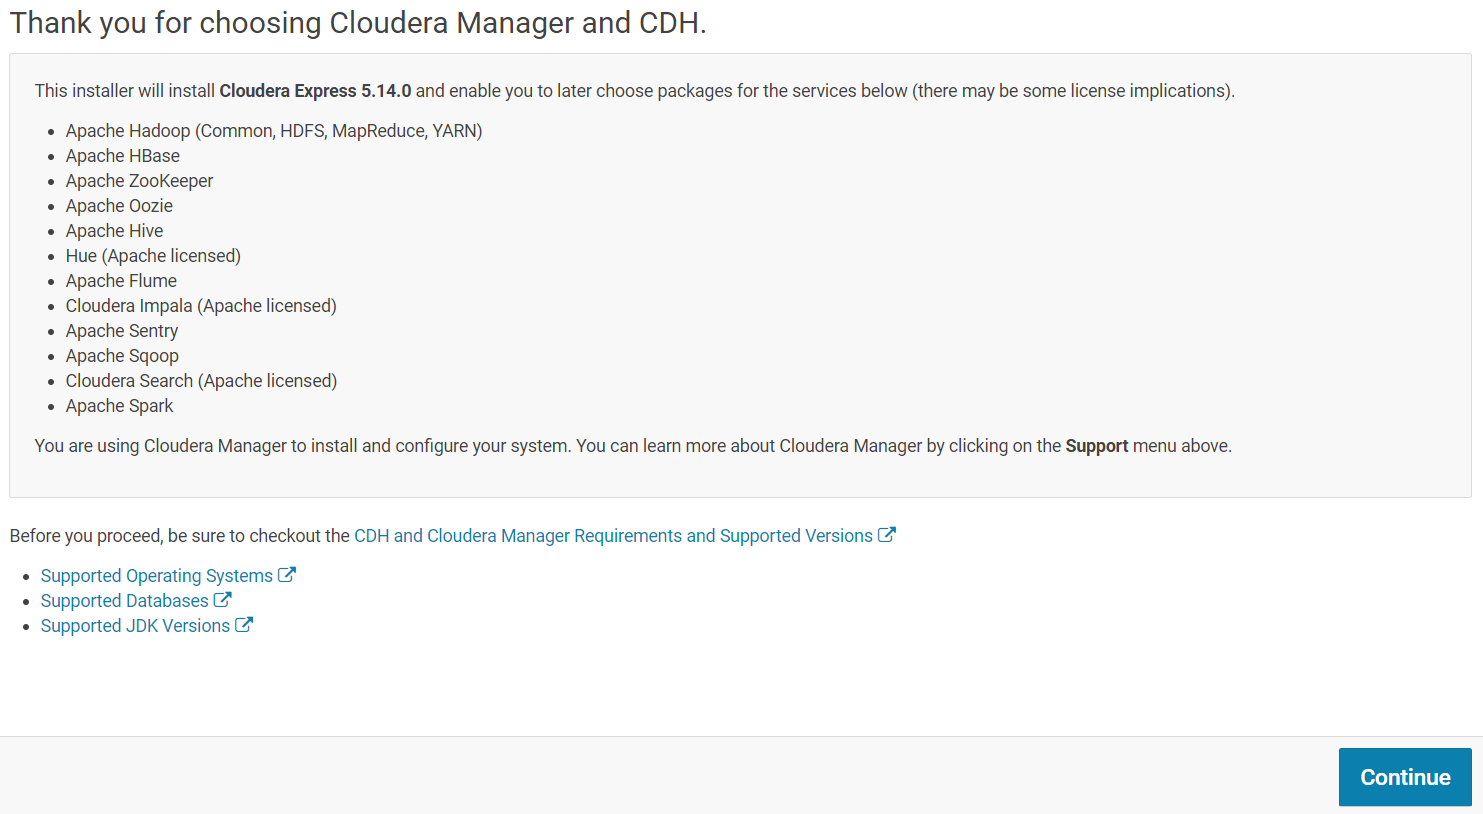
On the next page, you can choose the edition of Cloudera Manager you want to install. Select "Cloudera Express" and click on "Continue".
On the next screen, click on "Continue" to start the Cloudera Manager wizard.
Follow the wizard steps to finish installing your Cloudera on your cluster.
### Use the Cloudera Manager Wizard for Software Installation and Configuration
Use Cloudera Manager to search for cluster hosts that will run CDH and managed services. Enter in the public IP addresses of your EC2 instances.
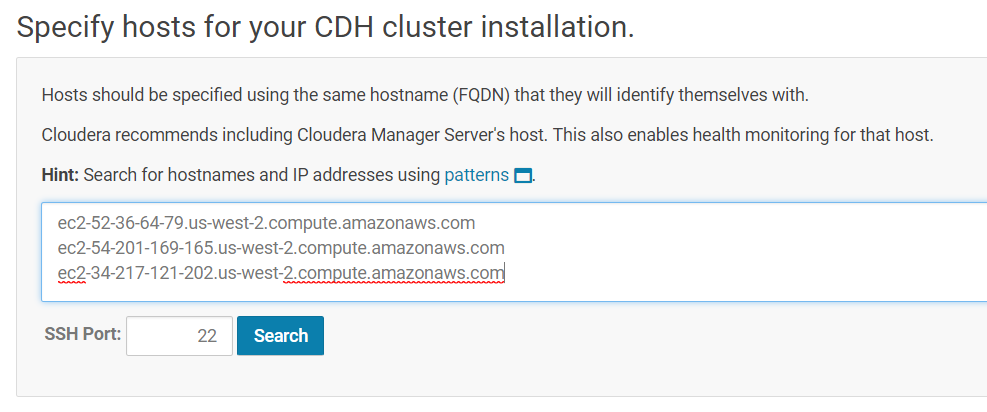
Remember you can find those IP addresses from your AWS Console in EC2 service, Instances section:
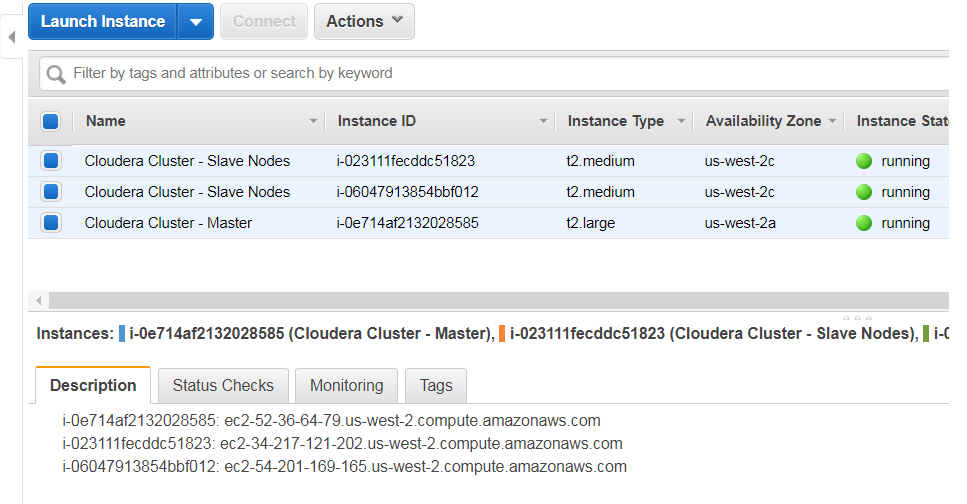
Once you have entered the IP addresses, click on "Search" for Cloudera Manager to identify the hosts on your cluster that are ready to be configured with CDH services. Once done, you should see a screen similar to the following:
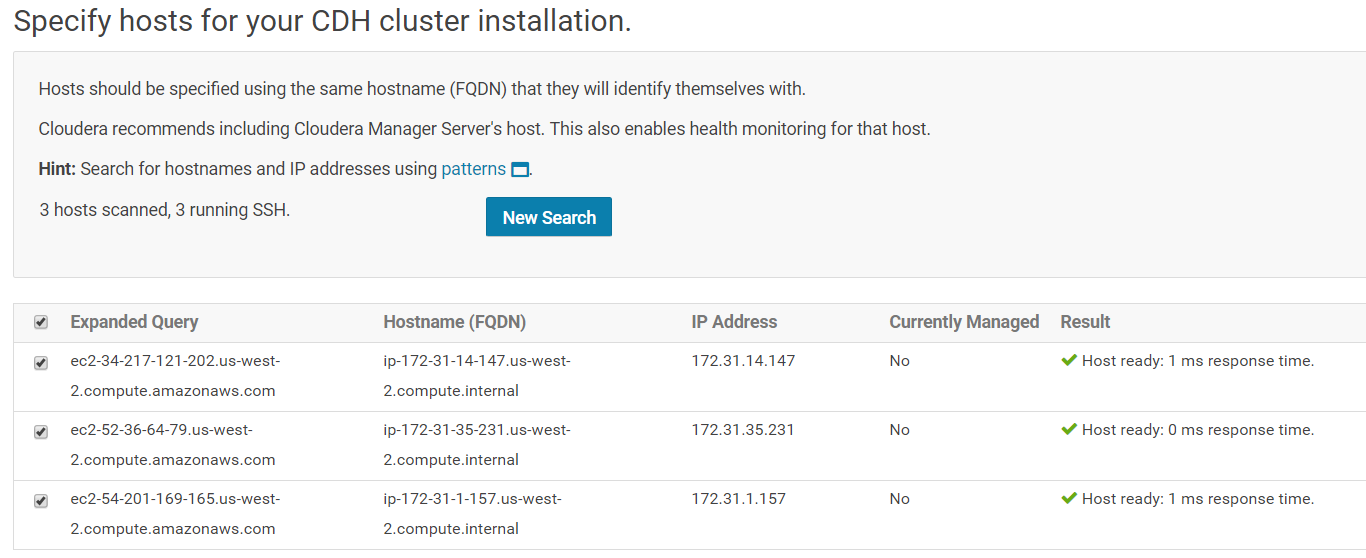
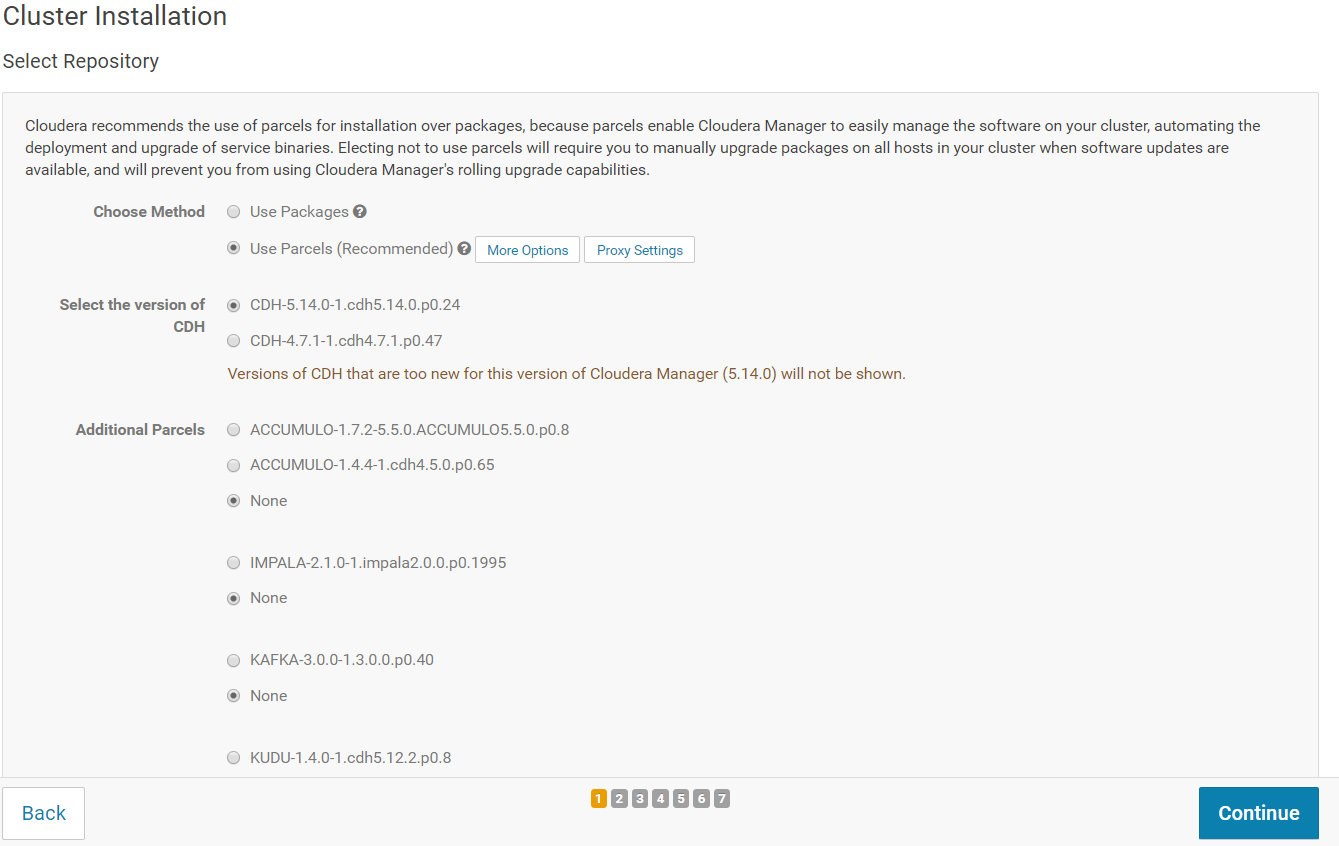
After the hosts have been identified, you can select the installing method. Select "Use Parcels" if not already selected and click on "Continue".
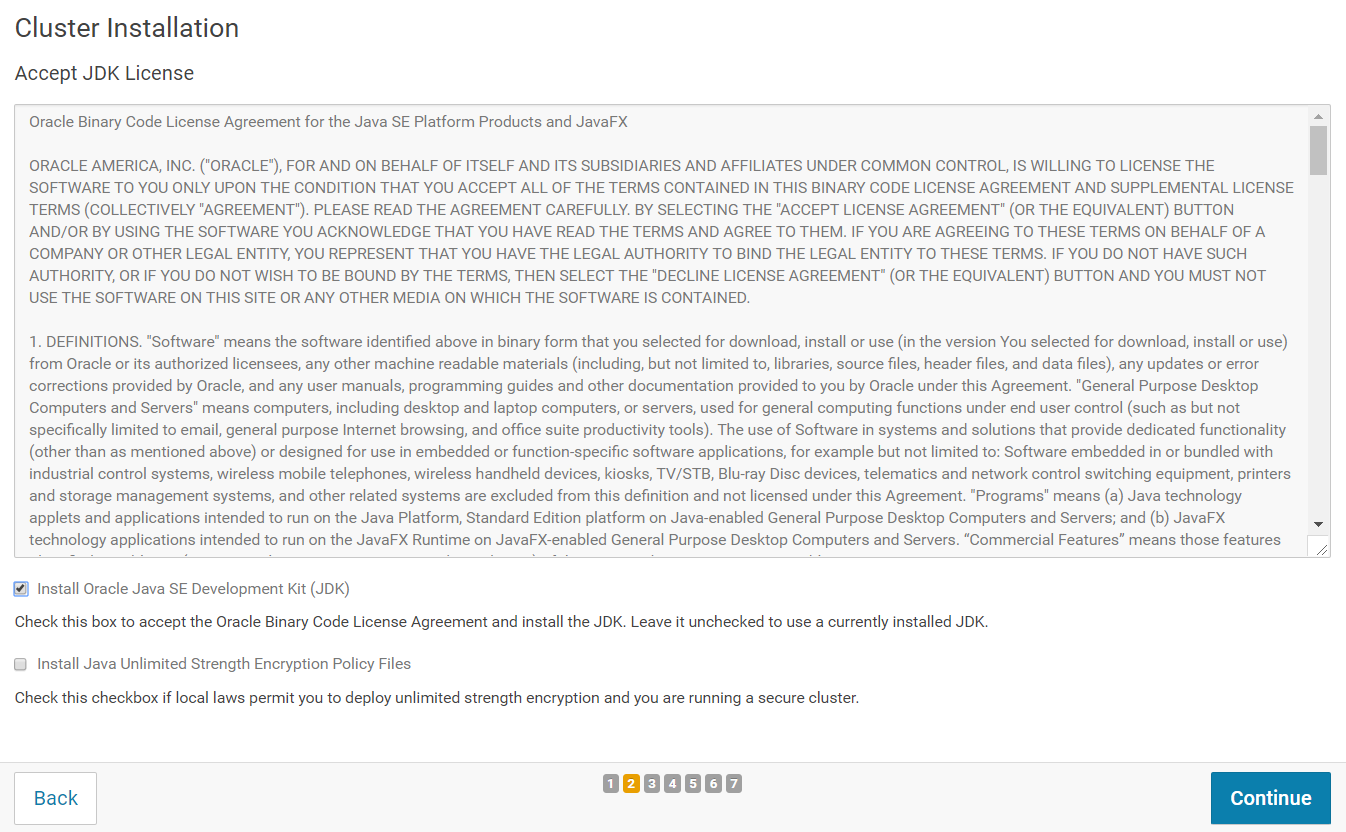
On the next screen, make sure you select "Install Oracle Java SE Development Kit (JDK)". You do not need to select "Install Java Unlimited Strength Encryption Policy Files". Click on "Continue".
On the next screen, click on "Continue".

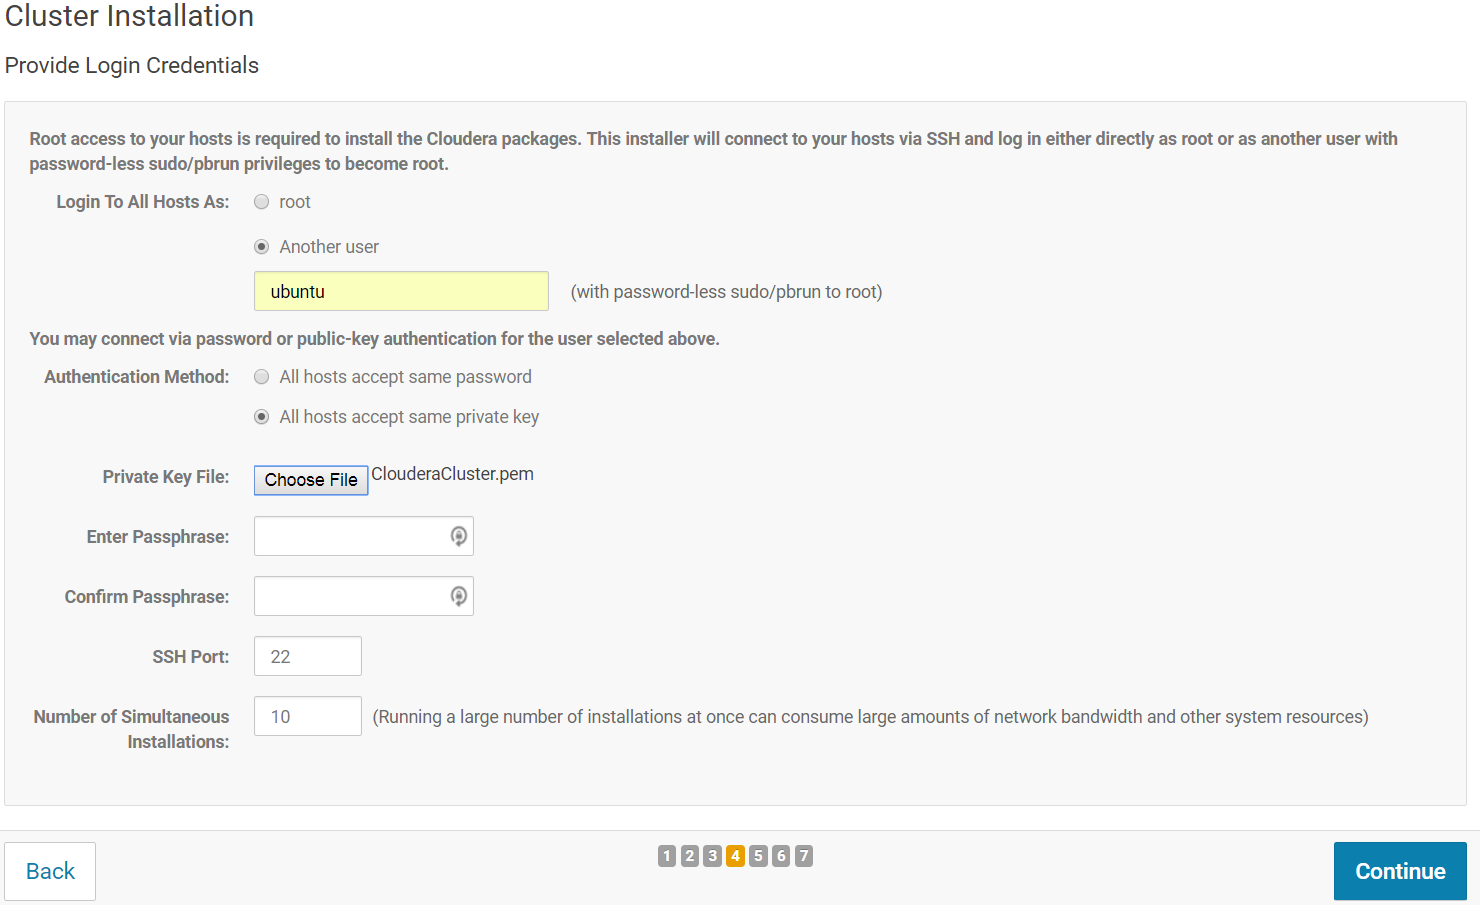
On the next screen, you should provide Cloudera Manager with SSH credentials. Select "Another user" and type in "ubuntu" (same login used to SSH to your EC2 instance). For the Authentication method, select "All hosts accept same private key" and for the Private Key File, select your EC2 private key (Windows users: use the .pem file, not the .ppk one).
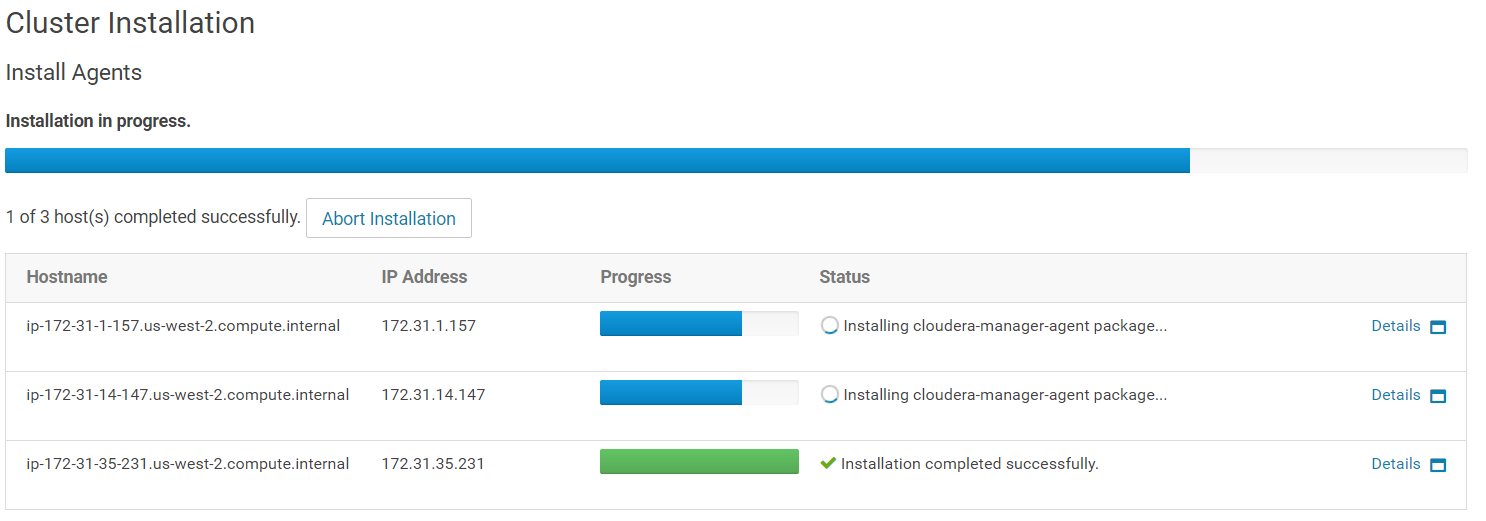
On the next screen, the Install agents will be downloaded and installed on all hosts. Wait for the installation to succeed on all instances (all green). Once done, click on "Continue".
Then the parcels that you selected earlier will be installed. Once done, click on "Continue".

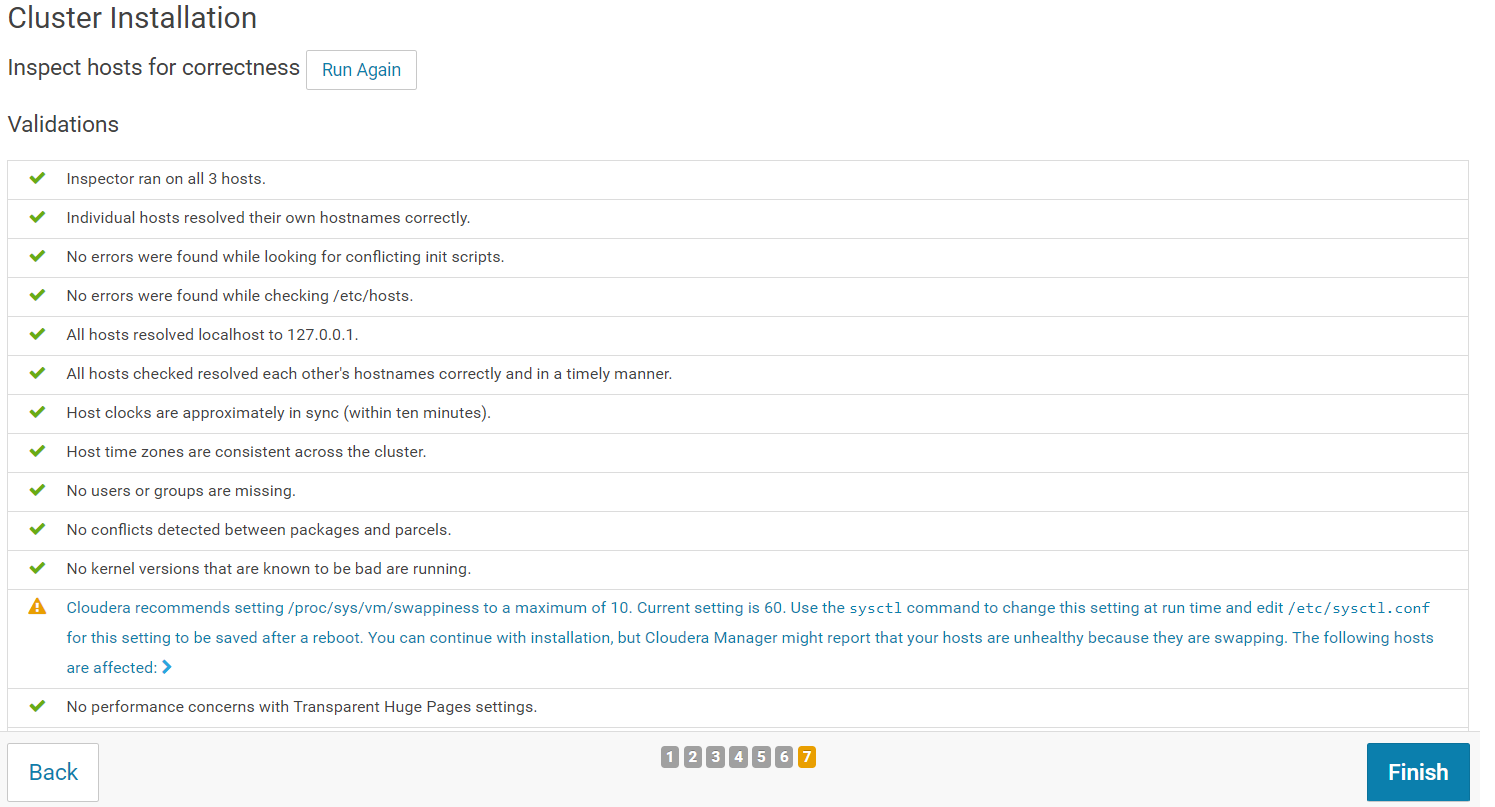
The Host Inspector will now validate the installation and provides a summary of the results. Click on "Finish".
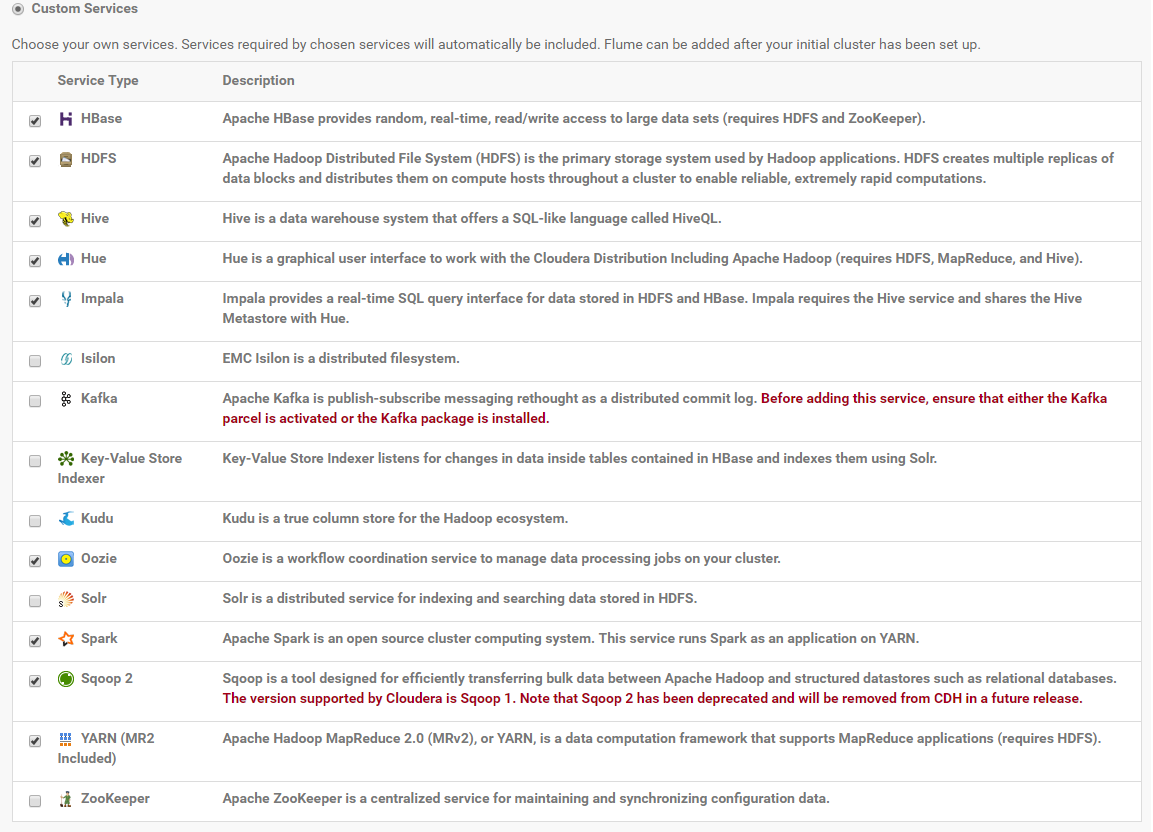
On the first page of the Add Services wizard, choose the combination of services to install. You can for example select "Custom Services" and choose the following services: HBase, HDFS, Hive, Hue, Impala, Oozie, Spark, Sqoop2, YARN.
Click on "Continue".
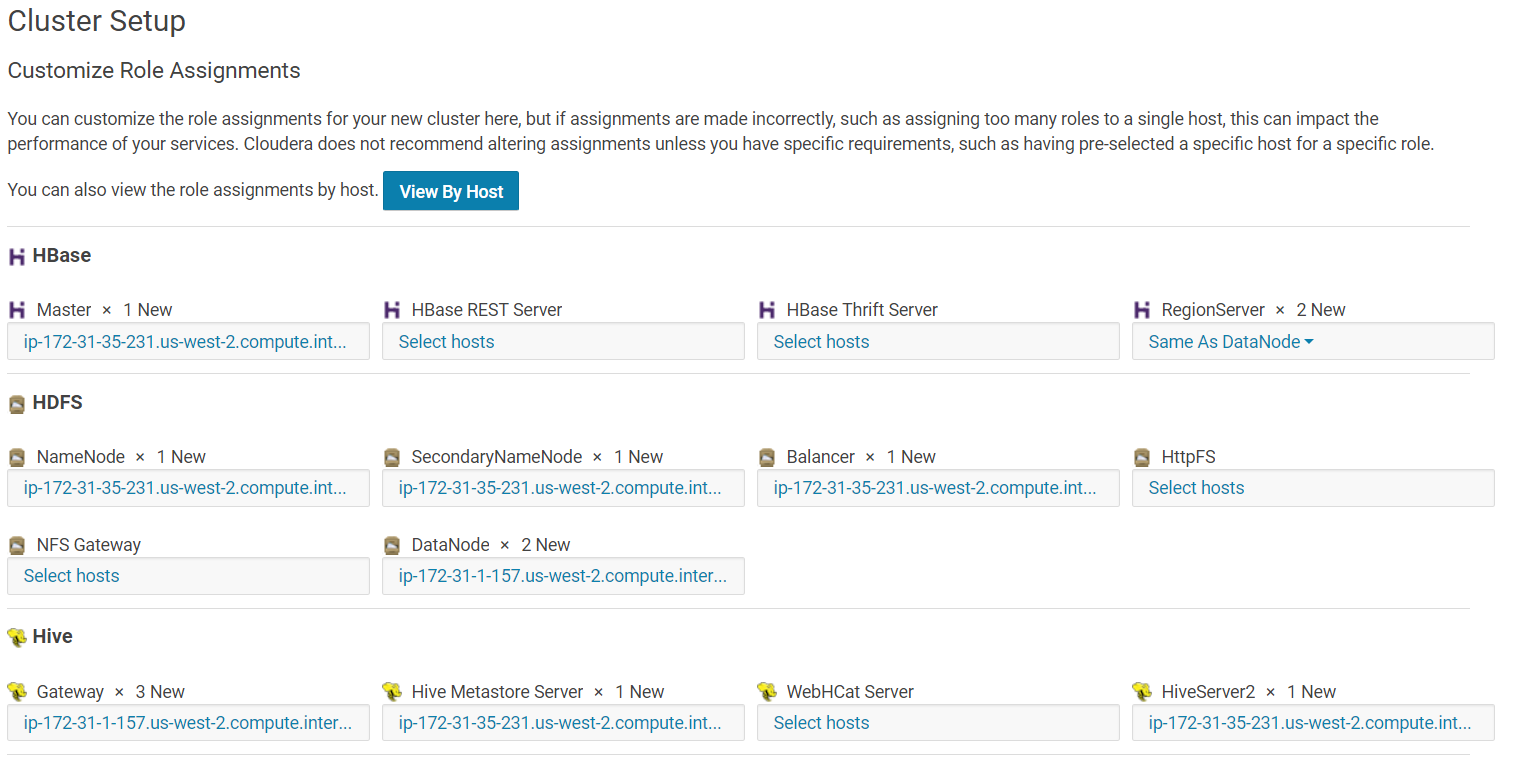
The next screen lets you customize the role of each host of your cluster. In our case, make sure that the "Master" node or "NameNode" or "Gateway" node, etc… are all pointed to the instance that we chose as t2.large.
If the IPs shown in CDH installer are not the t2.large instance for the master/namenode/gateways, then change it so that it points to the t2.large instance.
The View By Host should look like this:
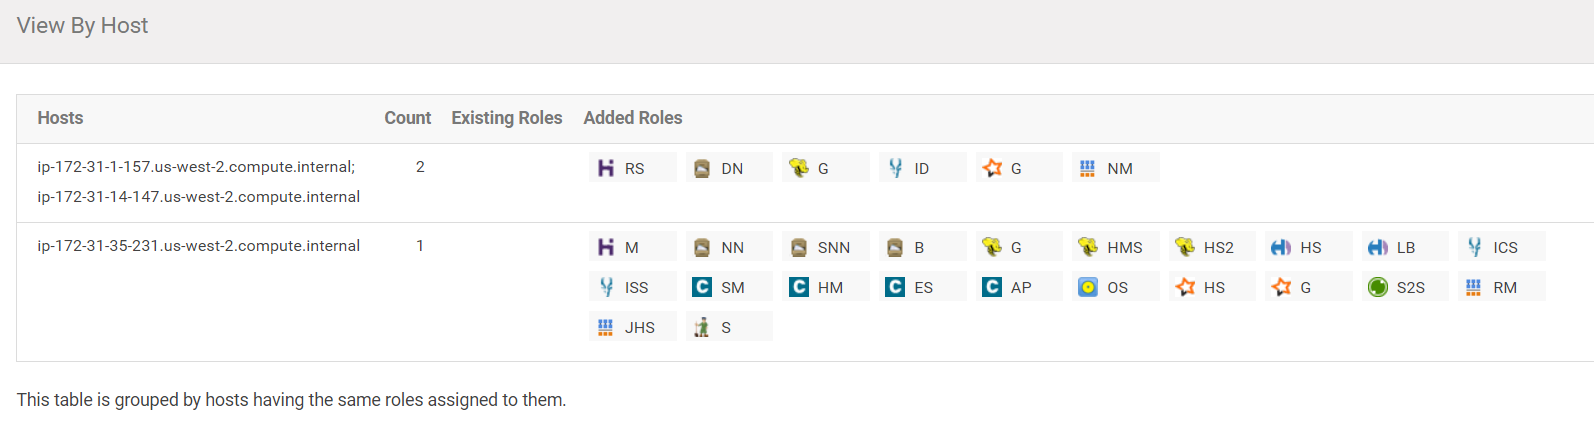
Click on "Continue".
On the next screen, Keep the default setting of "Use Embedded Database" to have Cloudera Manager create and configure required databases. Record the auto-generated passwords.
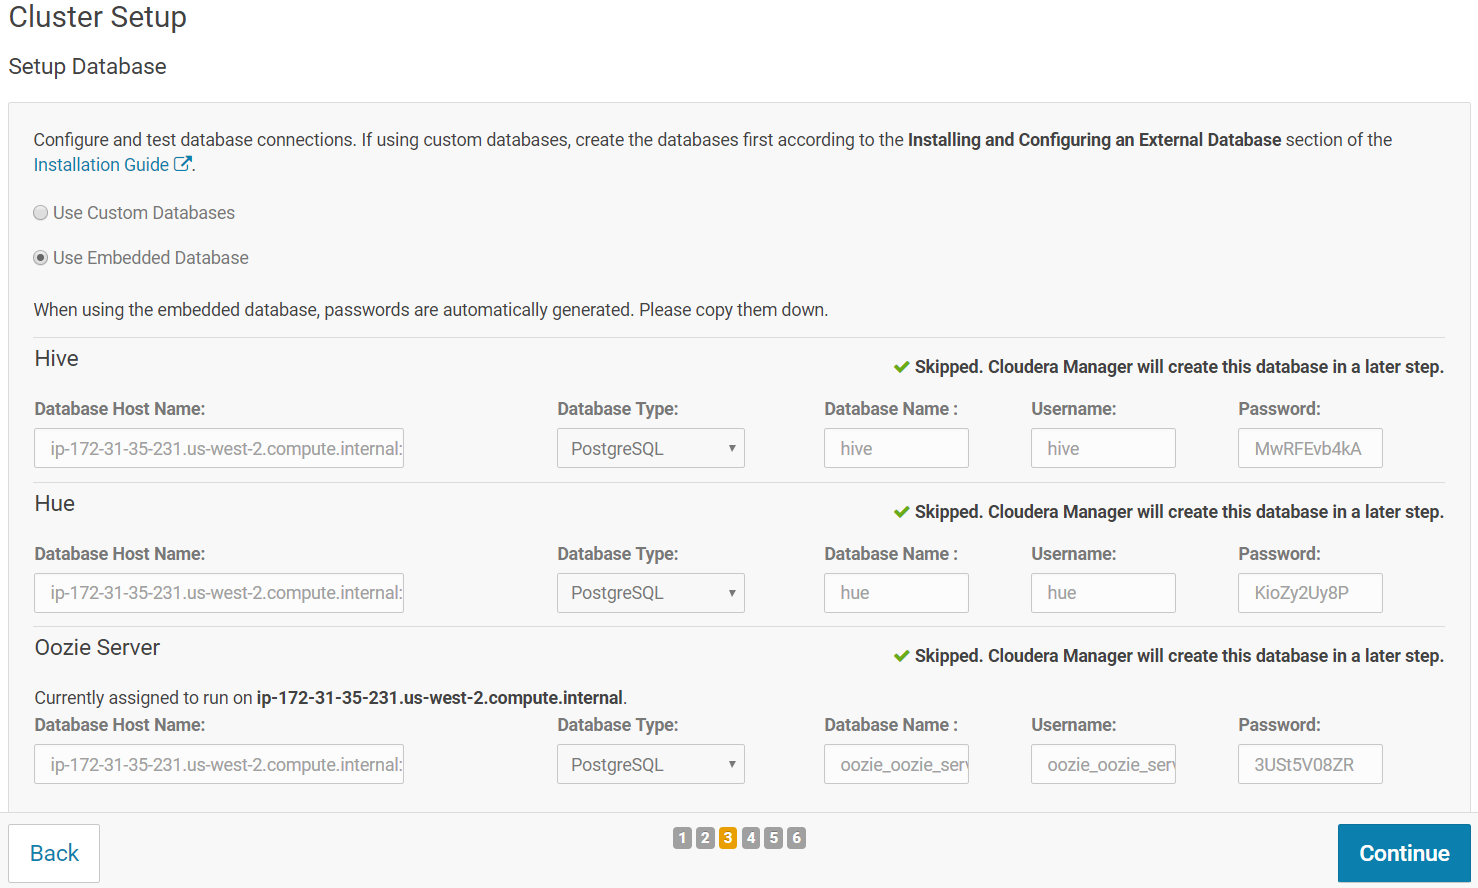
Click "Test Connection", when all the tests are successful/skipped the "Continue" button turns blue. Click "Continue".
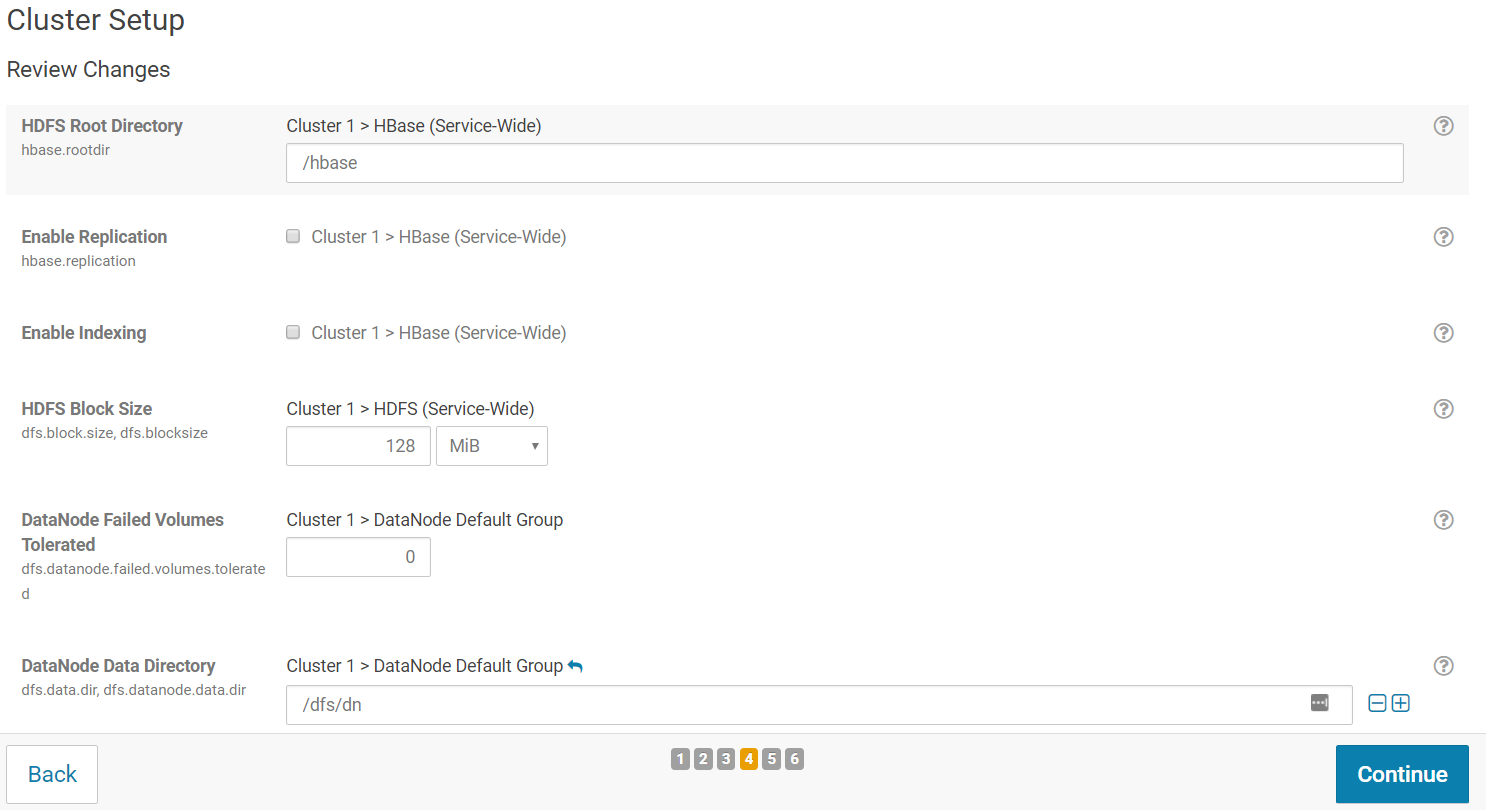
On the next screen, you should be able to apply any configuration change for your cluster. You can keep all default options and click "Continue".
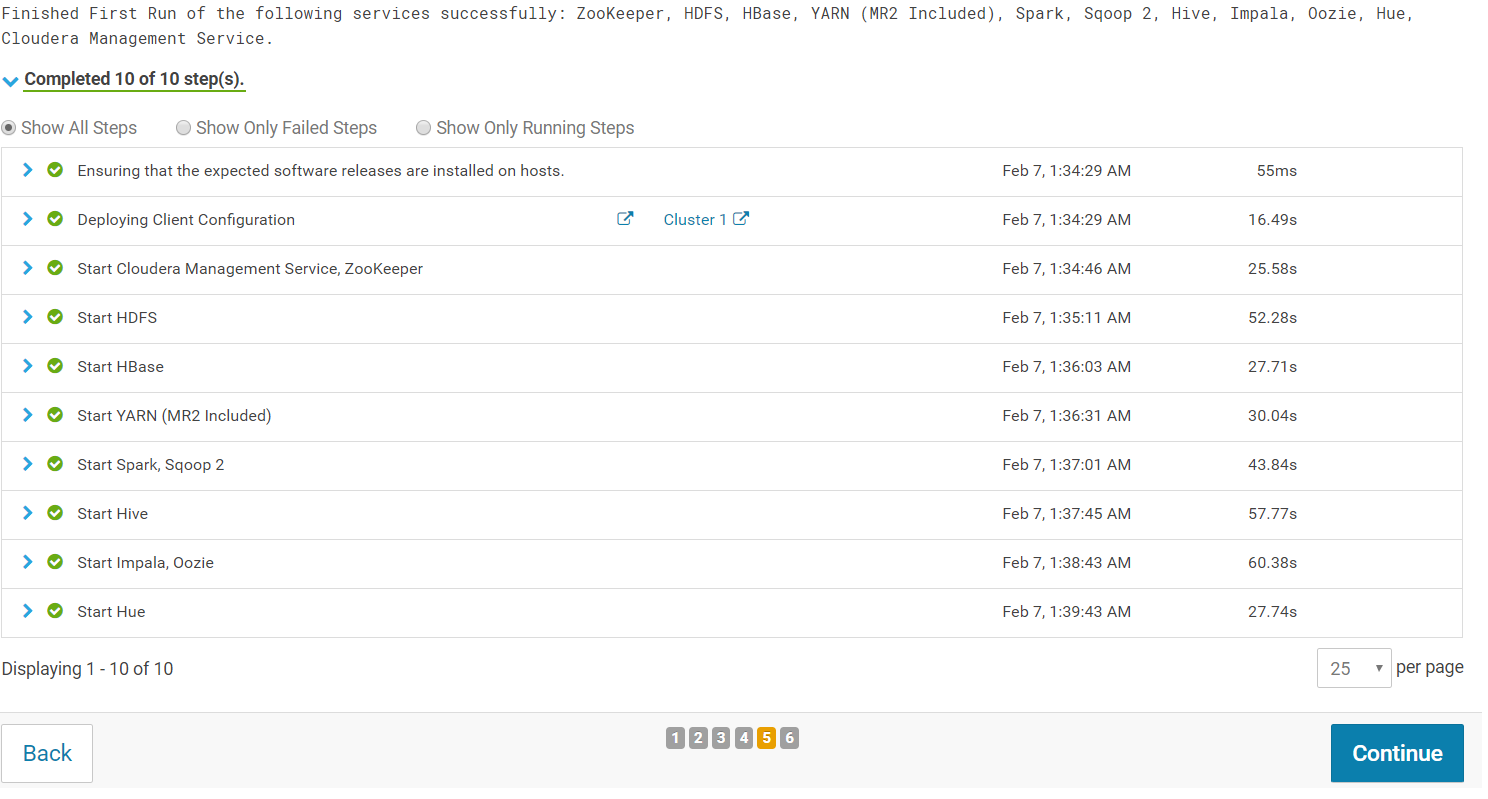
The wizard starts a **First Run** of the services. When all of the services are started, click "Continue".
You will see a success message indicating that your cluster has been successfully started:
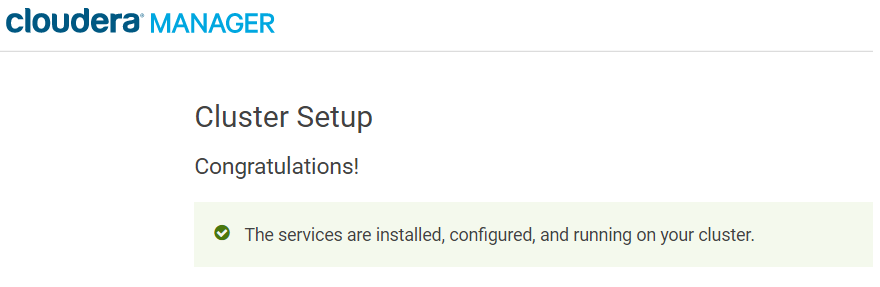
Your Hadoop cluster has now been successfully installed!
### Cloudera Manager and Hue
#### Cloudera Manager
After the installation of your Hadoop cluster has been successful, you will be redirected to the Cloudera Manager Admin Console.
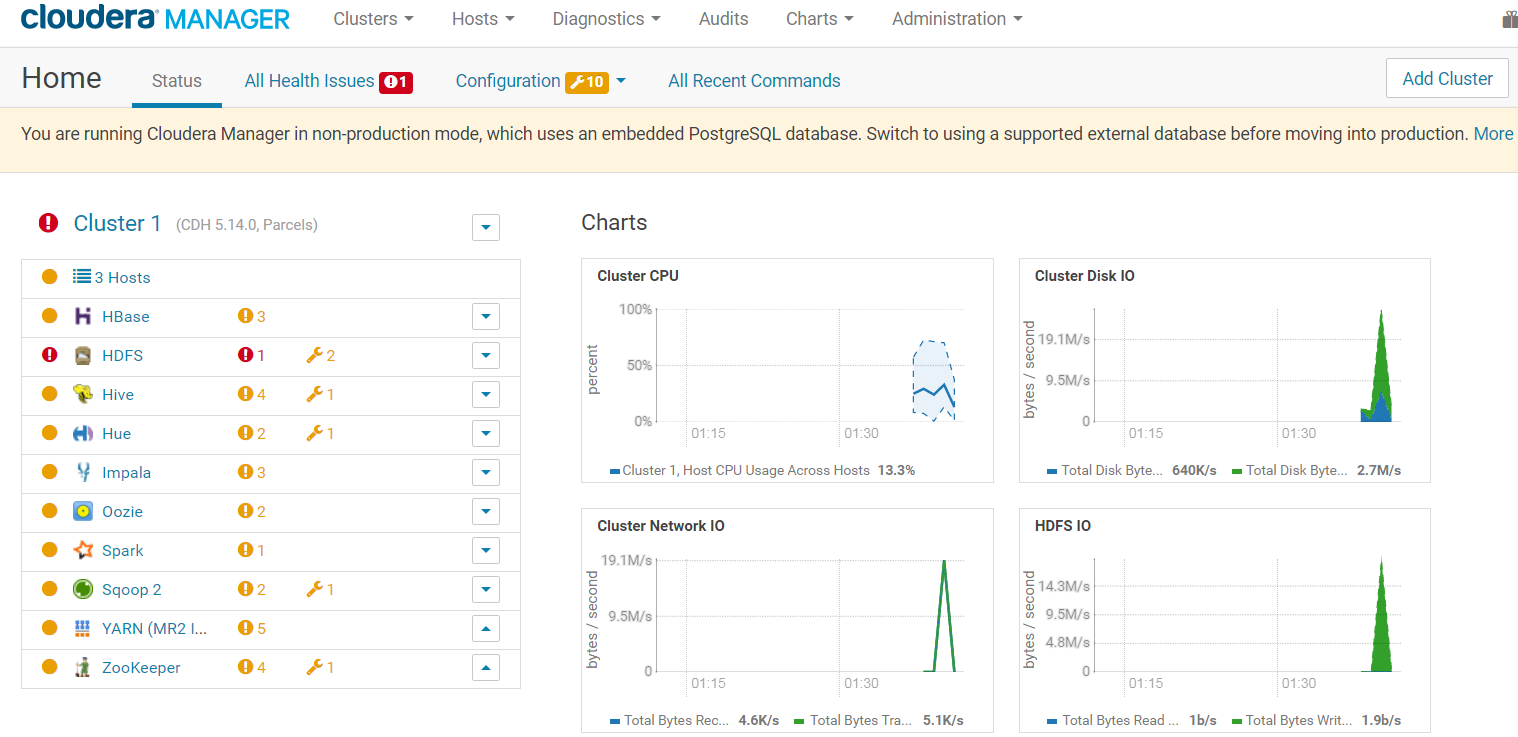
A good practice is to update the administrator password. Click the logged-in username at the far right of the top navigation bar and select "Change Password"**.** Enter the current password and a new password twice, and then click "OK"**.**
###
#### Hue
You can access Hue, Hadoop User Experience, in a web browser with the URL:
```
http://server_host:8889
```
Which can be for example:
```
http://ec2-52-36-64-79.us-west-2.compute.amazonaws.com:8889
```
As your first login, you will be requested to choose a Hue superuser login and password:
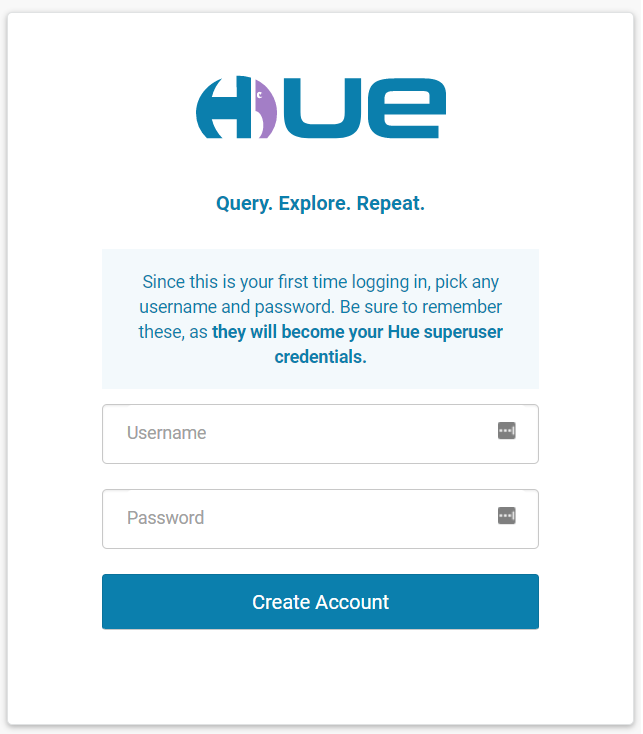
As the default user for our local file system is **ubuntu**, let's name our HUE superuser **ubuntu** as well.
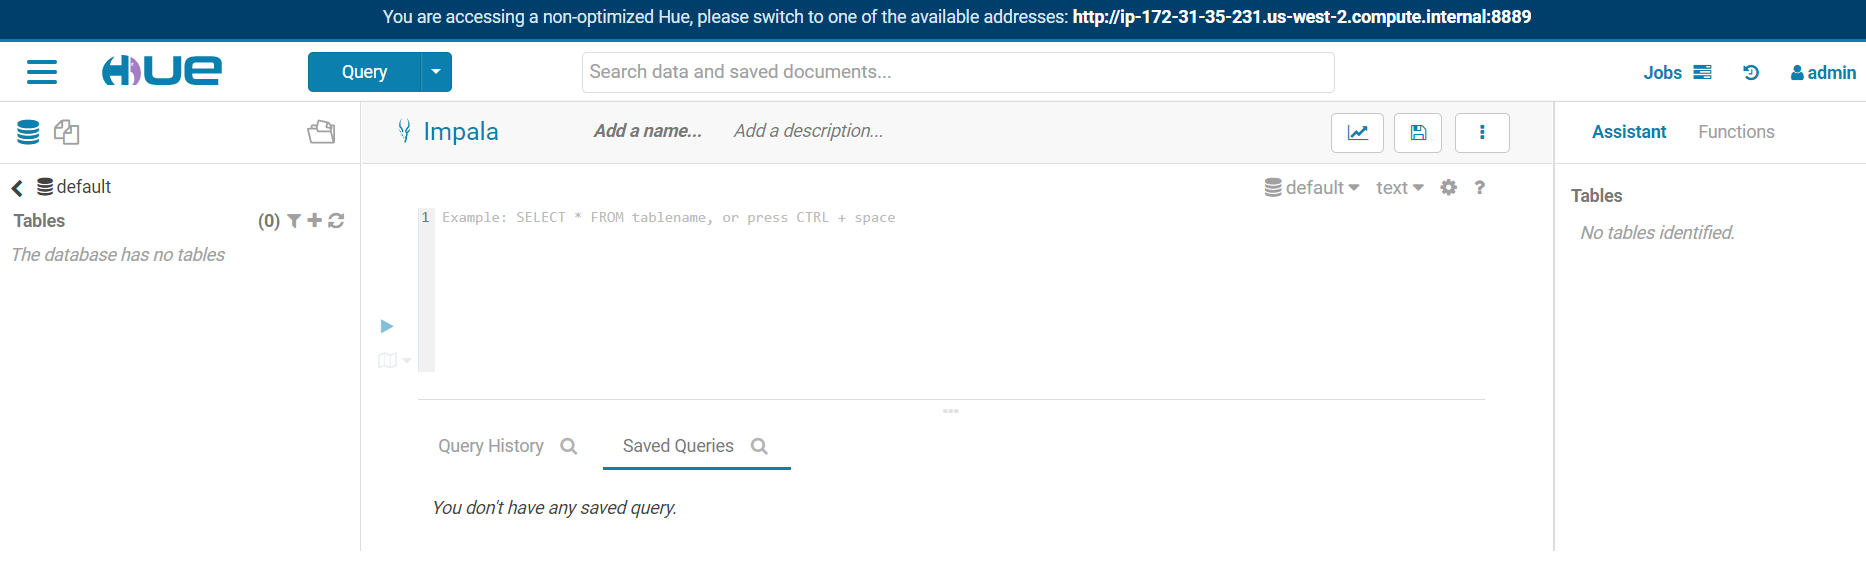
After your Hue superuser account has been created, you will be directed to Hue main screen:
### YARN Containers Memory
Something worth checking before running any task or job, particularly with small clusters with not-so-powerful machines, is the Container Memory size in YARN. A Container in YARN represents a resource (memory and vcores) on a single node at a given cluster. Containers perform tasks.
In the Cloudera Manager, click on **Clusters** on the top menu and select **YARN**.
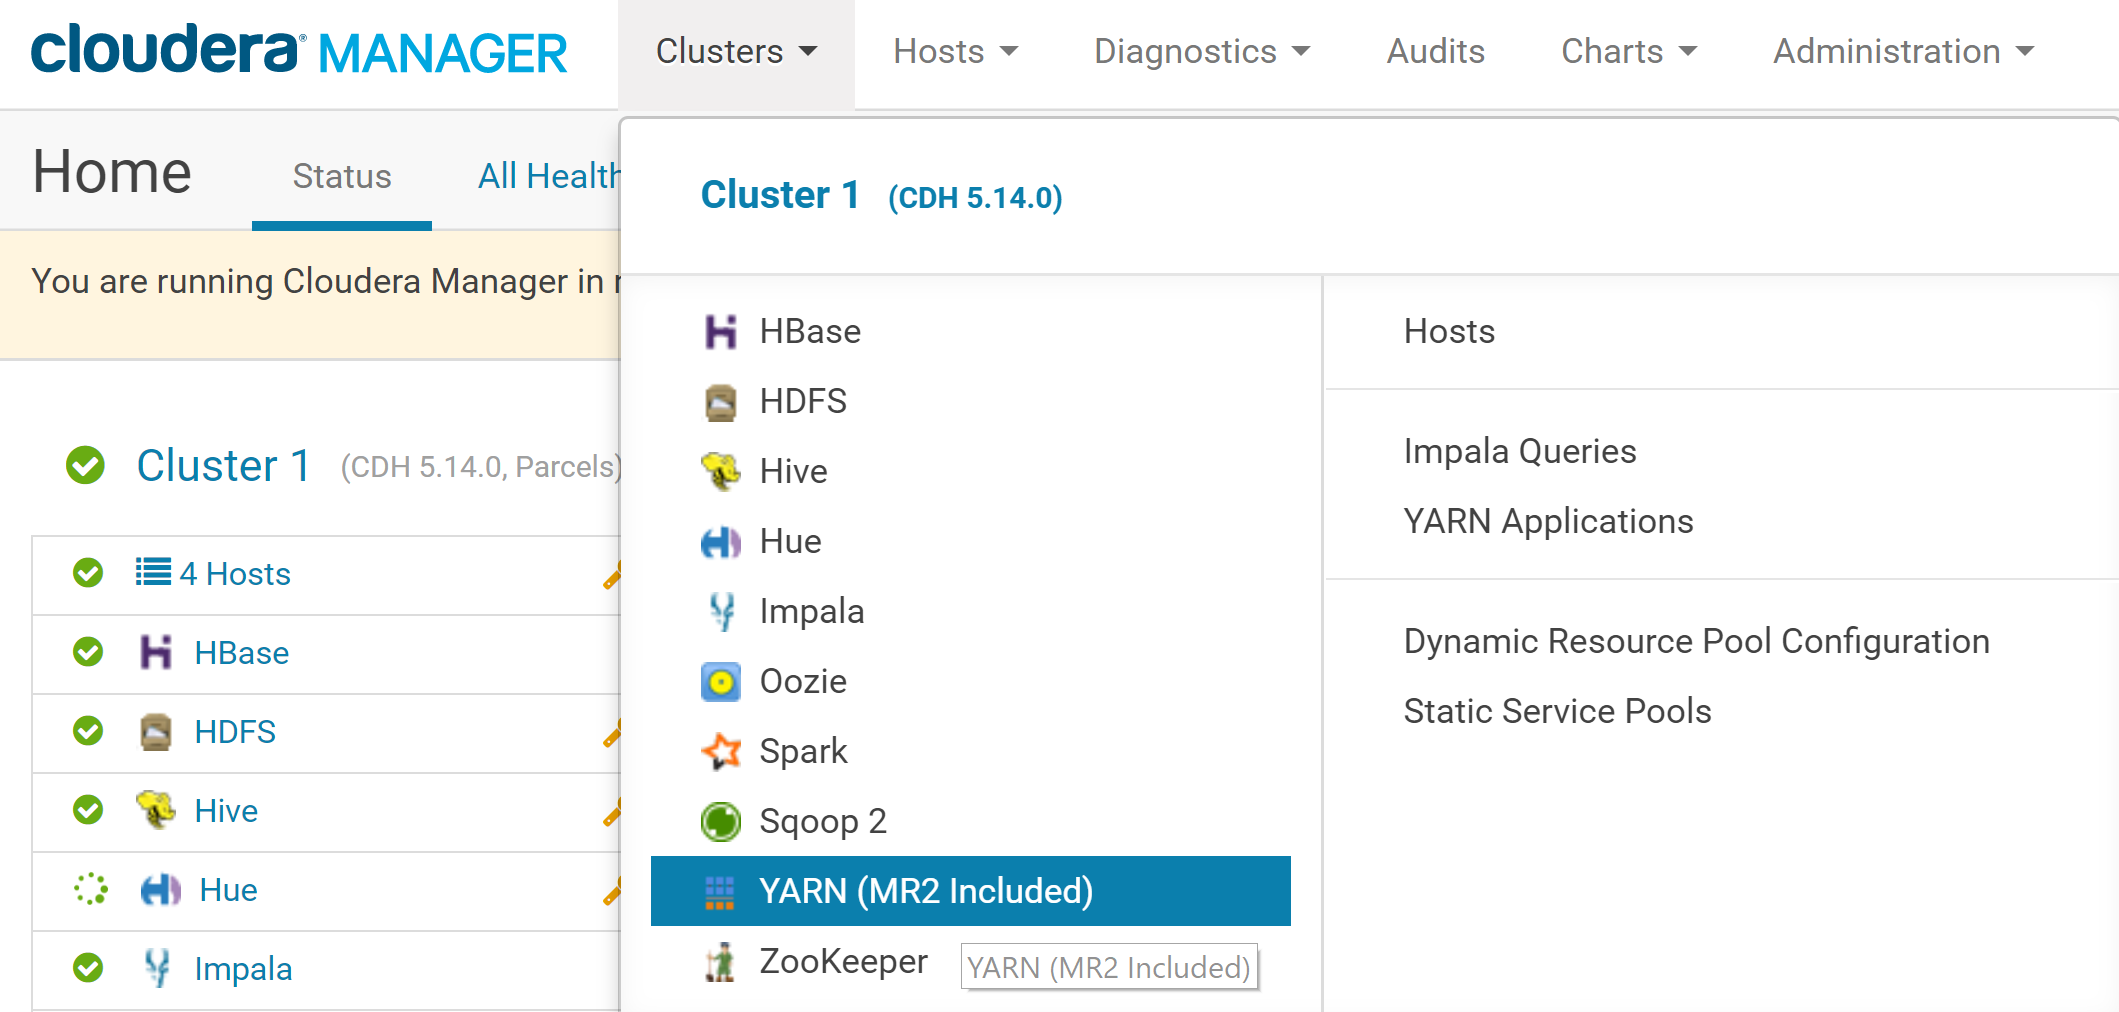
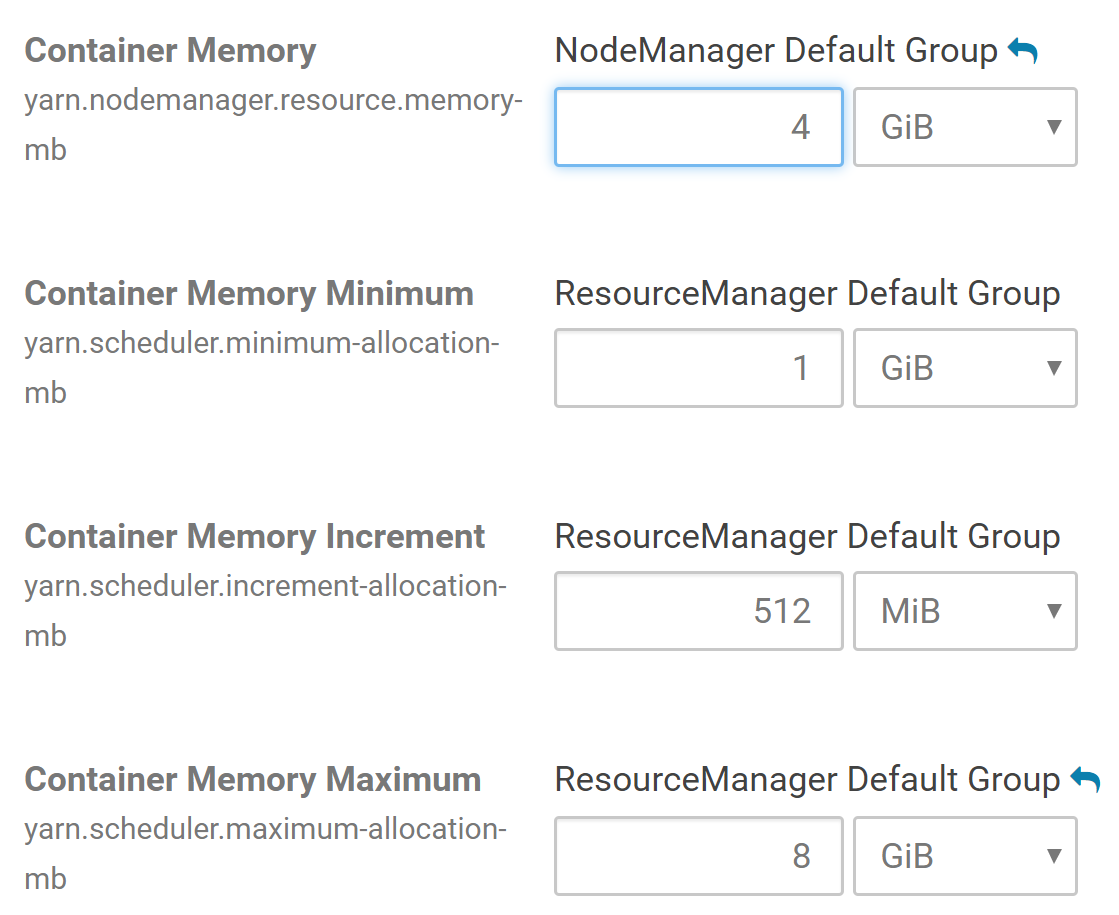
In the YARN menu, click on **Configuration**. In the search box just below, type ***memory container***.

We should now see a list of cluster configuration items, including, Container Memory, Container Memory Minimum, Container Memory Maximum, etc.
Make sure that the value for the Container Memory field is at least 4 GB (this might be 1 GB by default if your EC2 instances have less than 8 GB memory). You can also set the Container Memory Maximum at 8 GB. Choose those values depending on the memory of your EC2 instances.
More details on Containers here:
{% embed url="" %}
## Install MySQL
### Install MySQL and JDBC
MySQL is an open-source relational database that is free and widely used. To install MySQL on one of your EC2 instance with Ubuntu, [connect to one of your cluster node](https://juheck.gitbooks.io/connect-to-an-ec2-instance/content/).
Once connected, type in the following commands in the Terminal to install MySQL and all dependencies.:
```
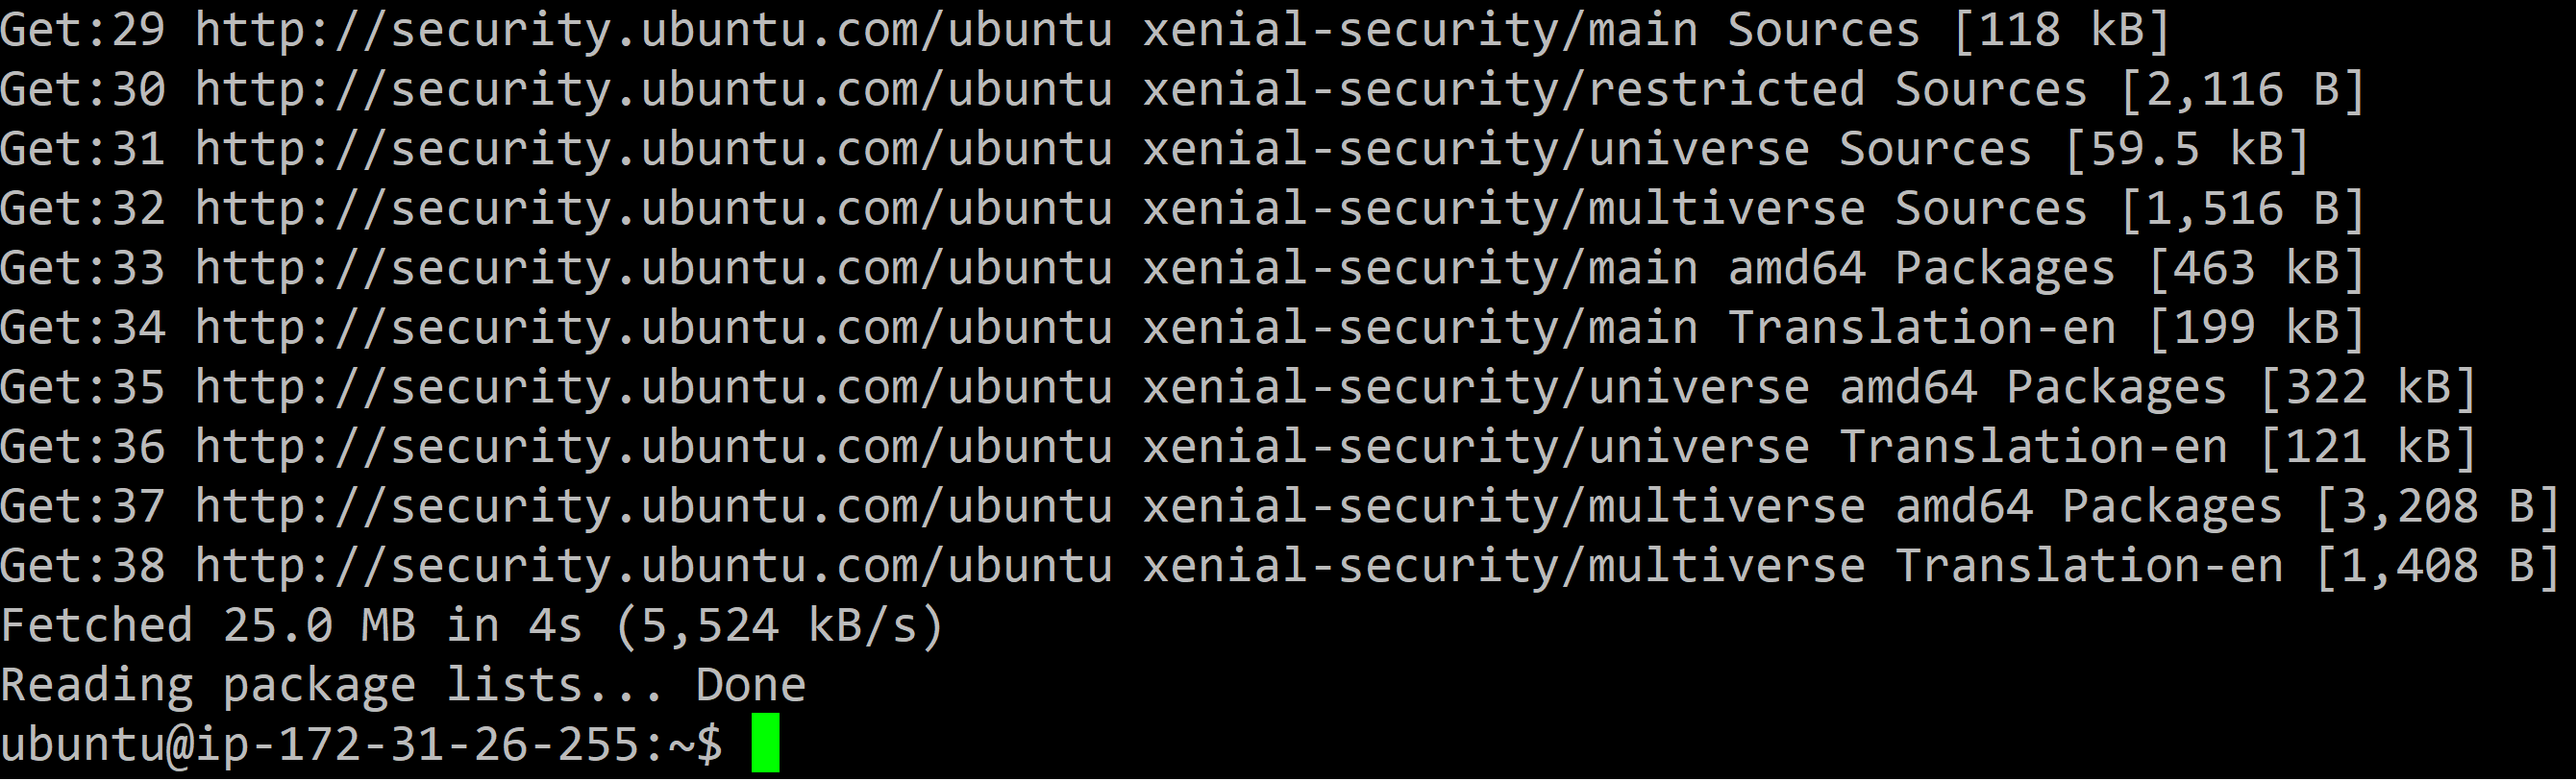
sudo apt-get update
sudo apt-get install mysql-server
```
When prompted, enter Y:

Next you will be requested to choose a root password for MySQL:
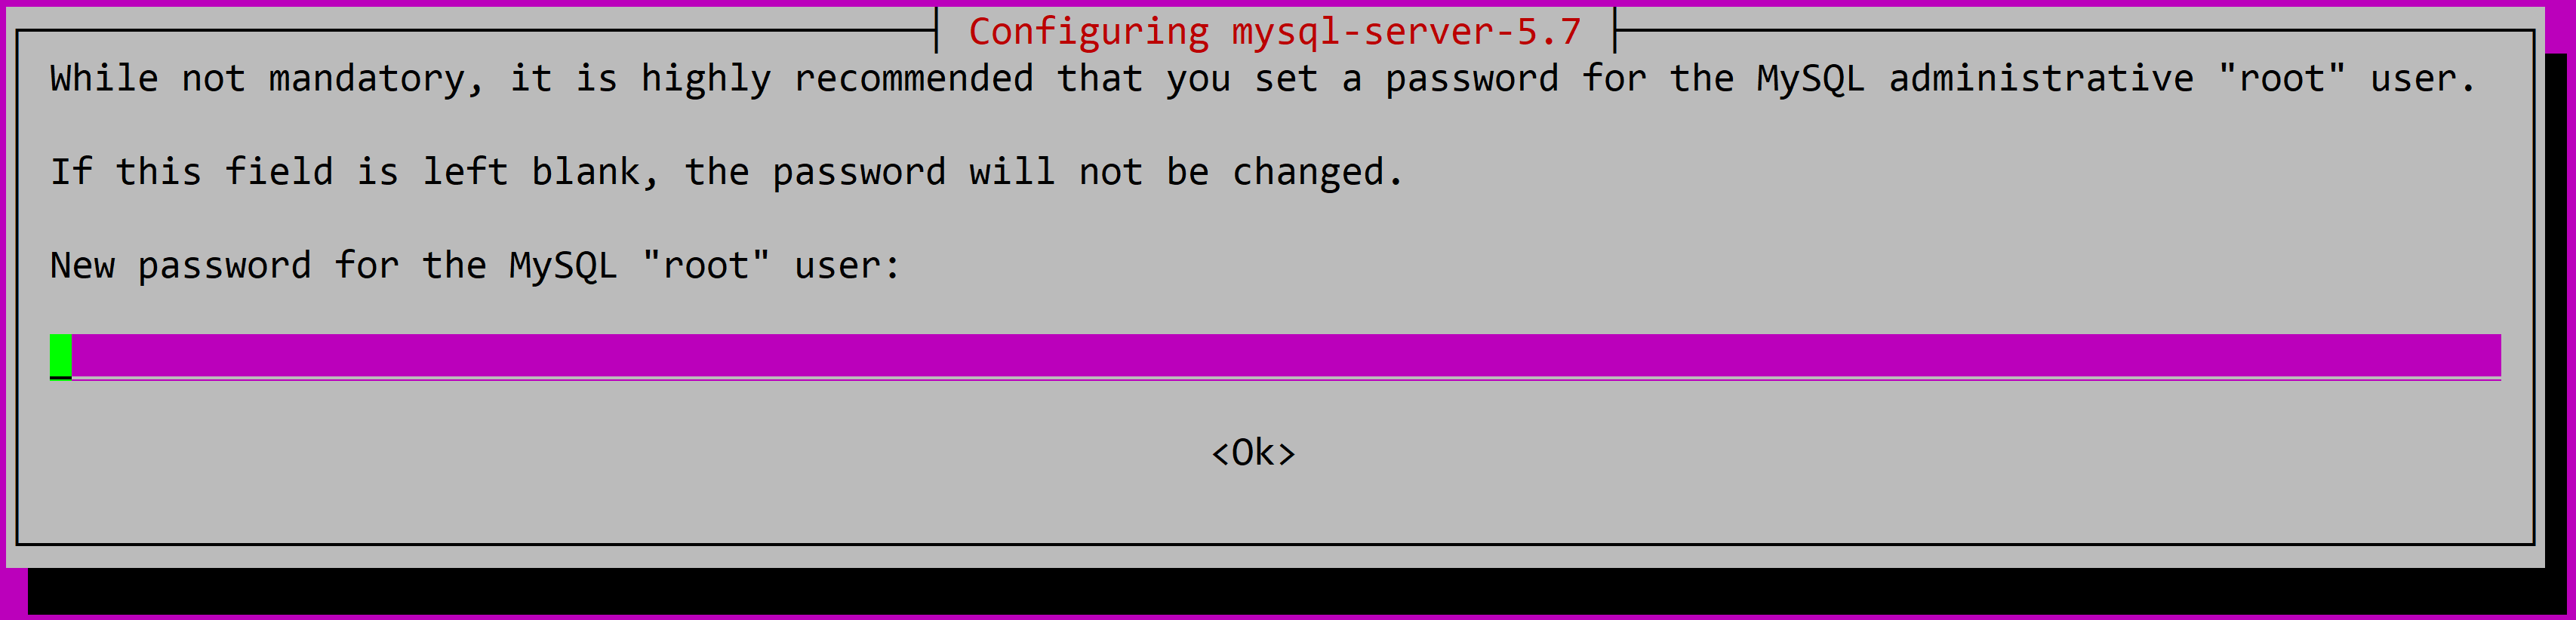
Enter the password again to confirm. The installation will then proceed.
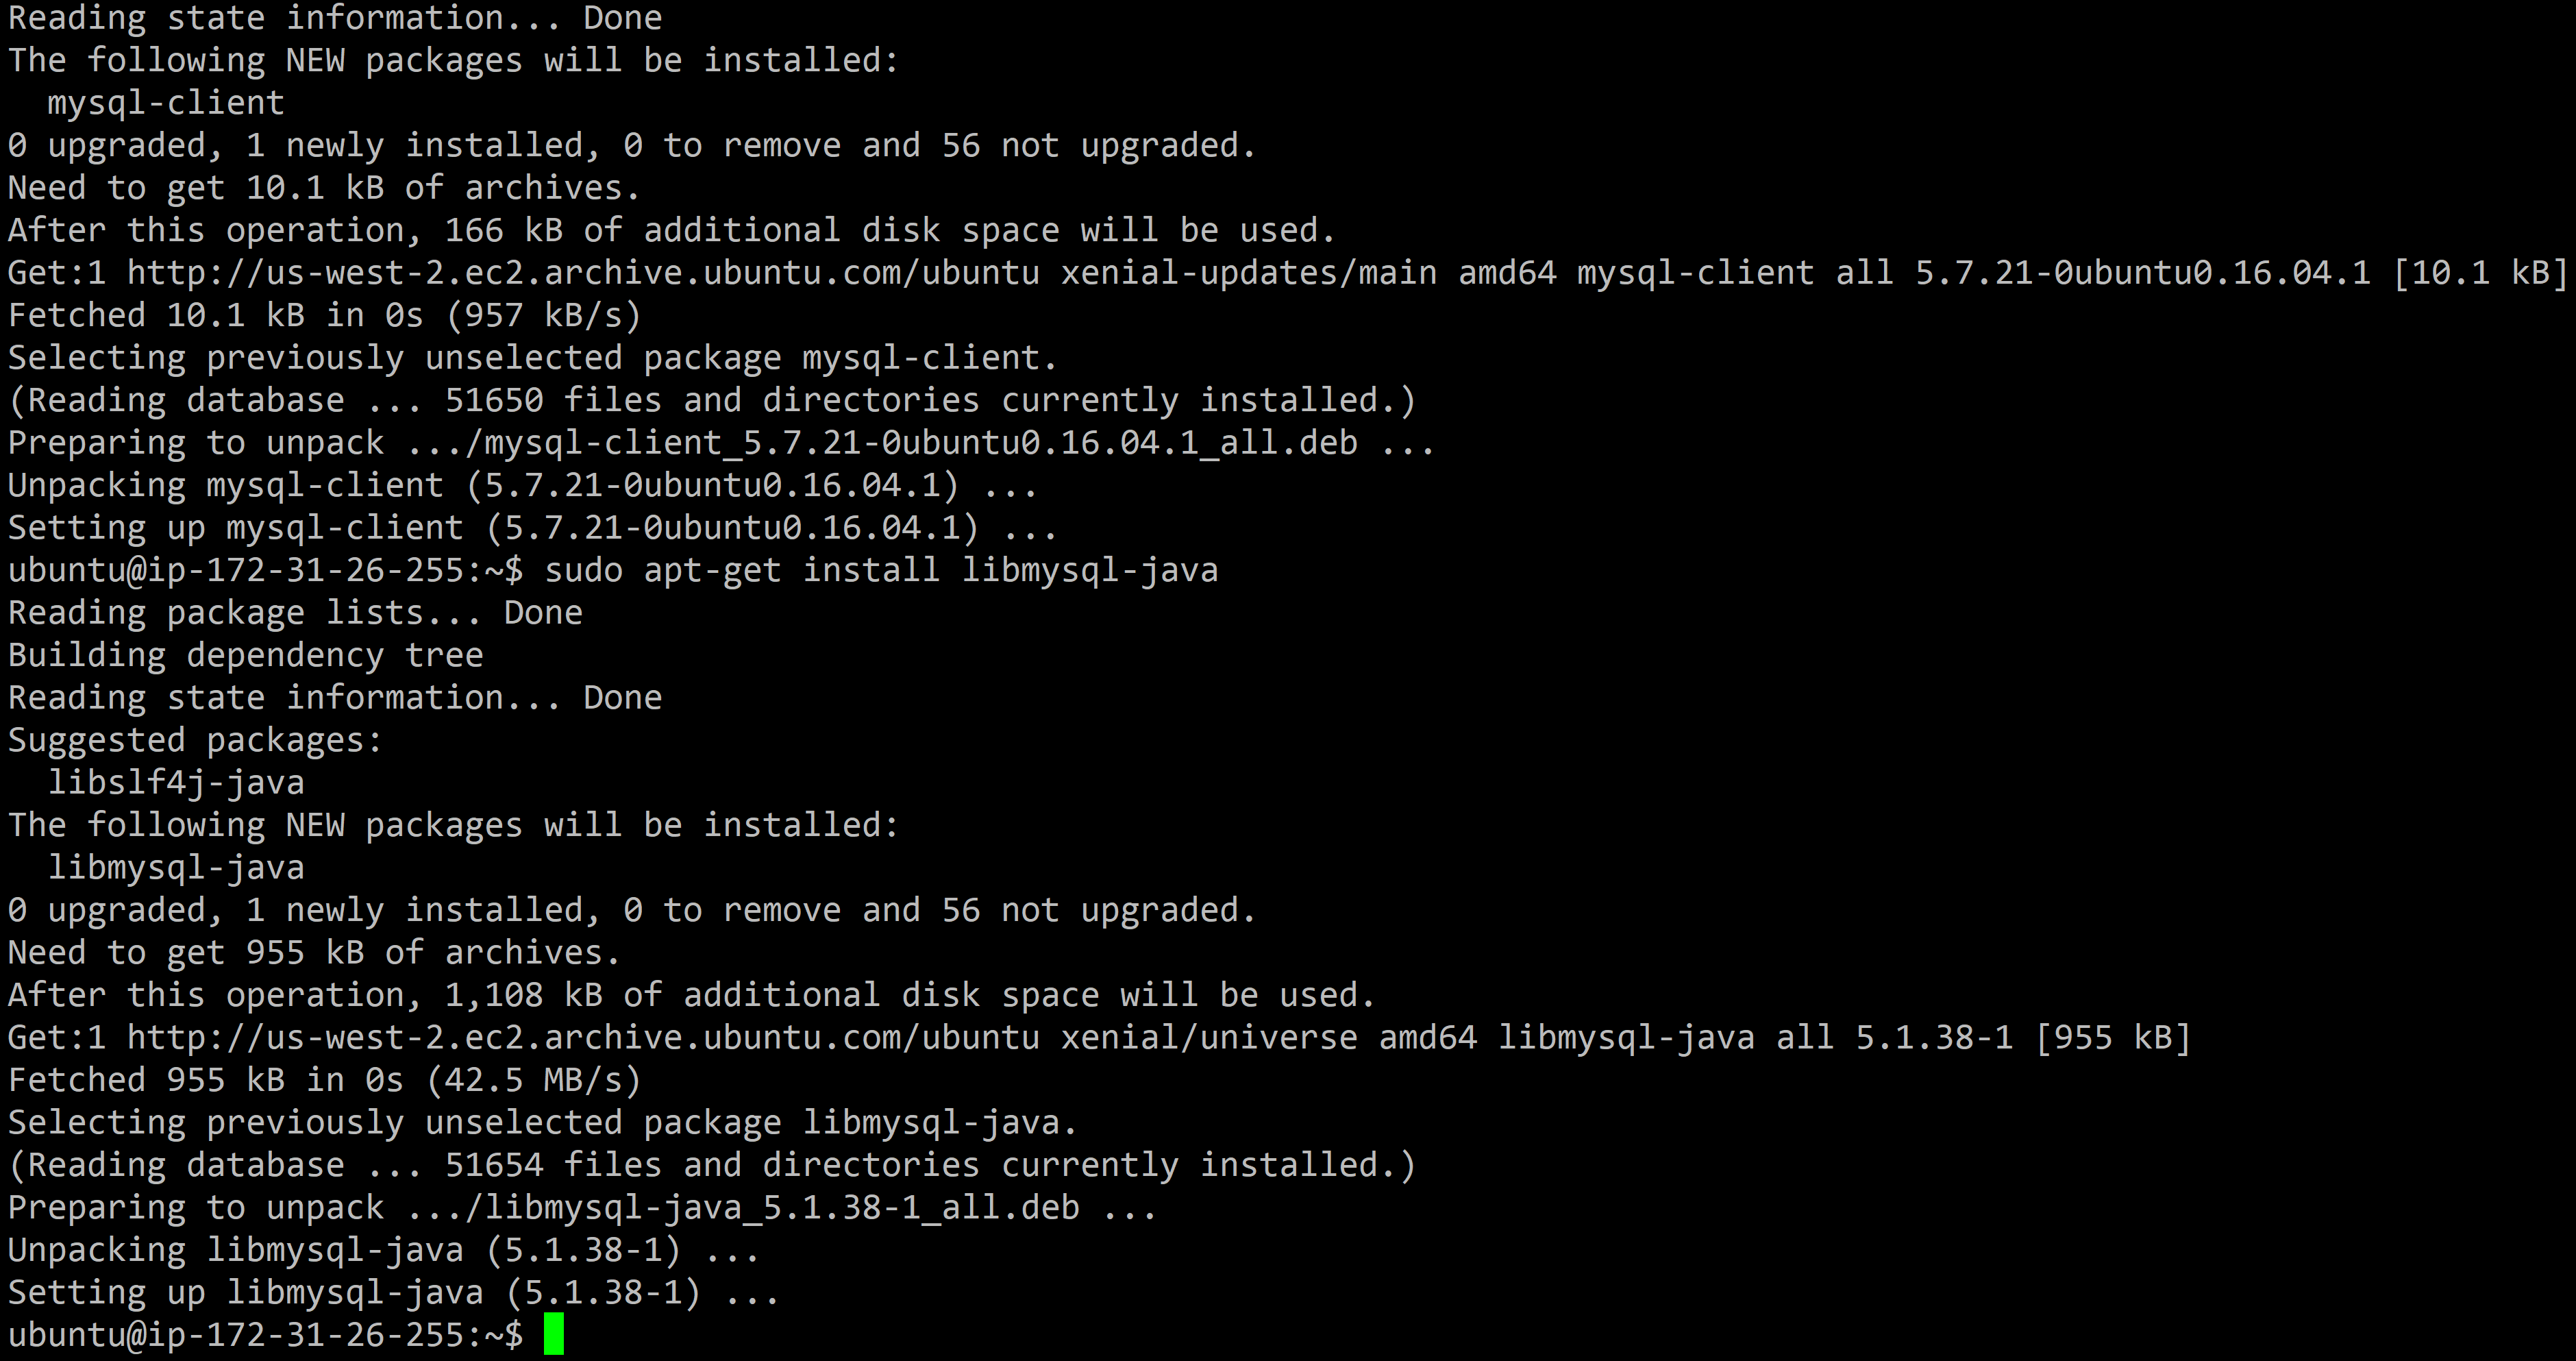
Eventually, MySQL server will be installed successfully. We can now install MySQL client and the JDBC driver with the following commands:
```
sudo apt-get install mysql-client
sudo apt-get install libmysql-java
```
Now MySQL is ready for use. There are few extras steps to perform to have it working with Sqoop. This is explained in the next section.
### Setup MySQL for Sqoop
To have MySQL working with Sqoop, there are few extras steps to perform.
First, we need to copy the **mysql-connector-java.jar** file to **/var/lib/sqoop/**:
```
sudo cp /usr/share/java/mysql-connector-java.jar /var/lib/sqoop/
```
If we want to use Sqoop within HUE, we also need to have a copy for the **mysql-connector-java.jar** file in HDFS:+
```
hadoop fs -copyFromLocal /usr/share/java/mysql-connector-java.jar /user/ubuntu
```
Next we need to update the **mysqld.cnf** file in **/etc/mysql/mysql.conf.d/** :
```
sudo nano /etc/mysql/mysql.conf.d/mysqld.cnf
```
Find the following line:
```
bind-address = 127.0.0.1
```
And comment it out:
```
#bind-address = 127.0.0.1
```

Save the modification and exit nano.
Now we can restart MySQL service using:
```
sudo service mysql restart
```
### Create a MySQL user
Download the movielens database
```
wget https://s3-us-west-1.amazonaws.com/julienheck/hadoop/6_data_ingestion/mysql/movielens.sql
```
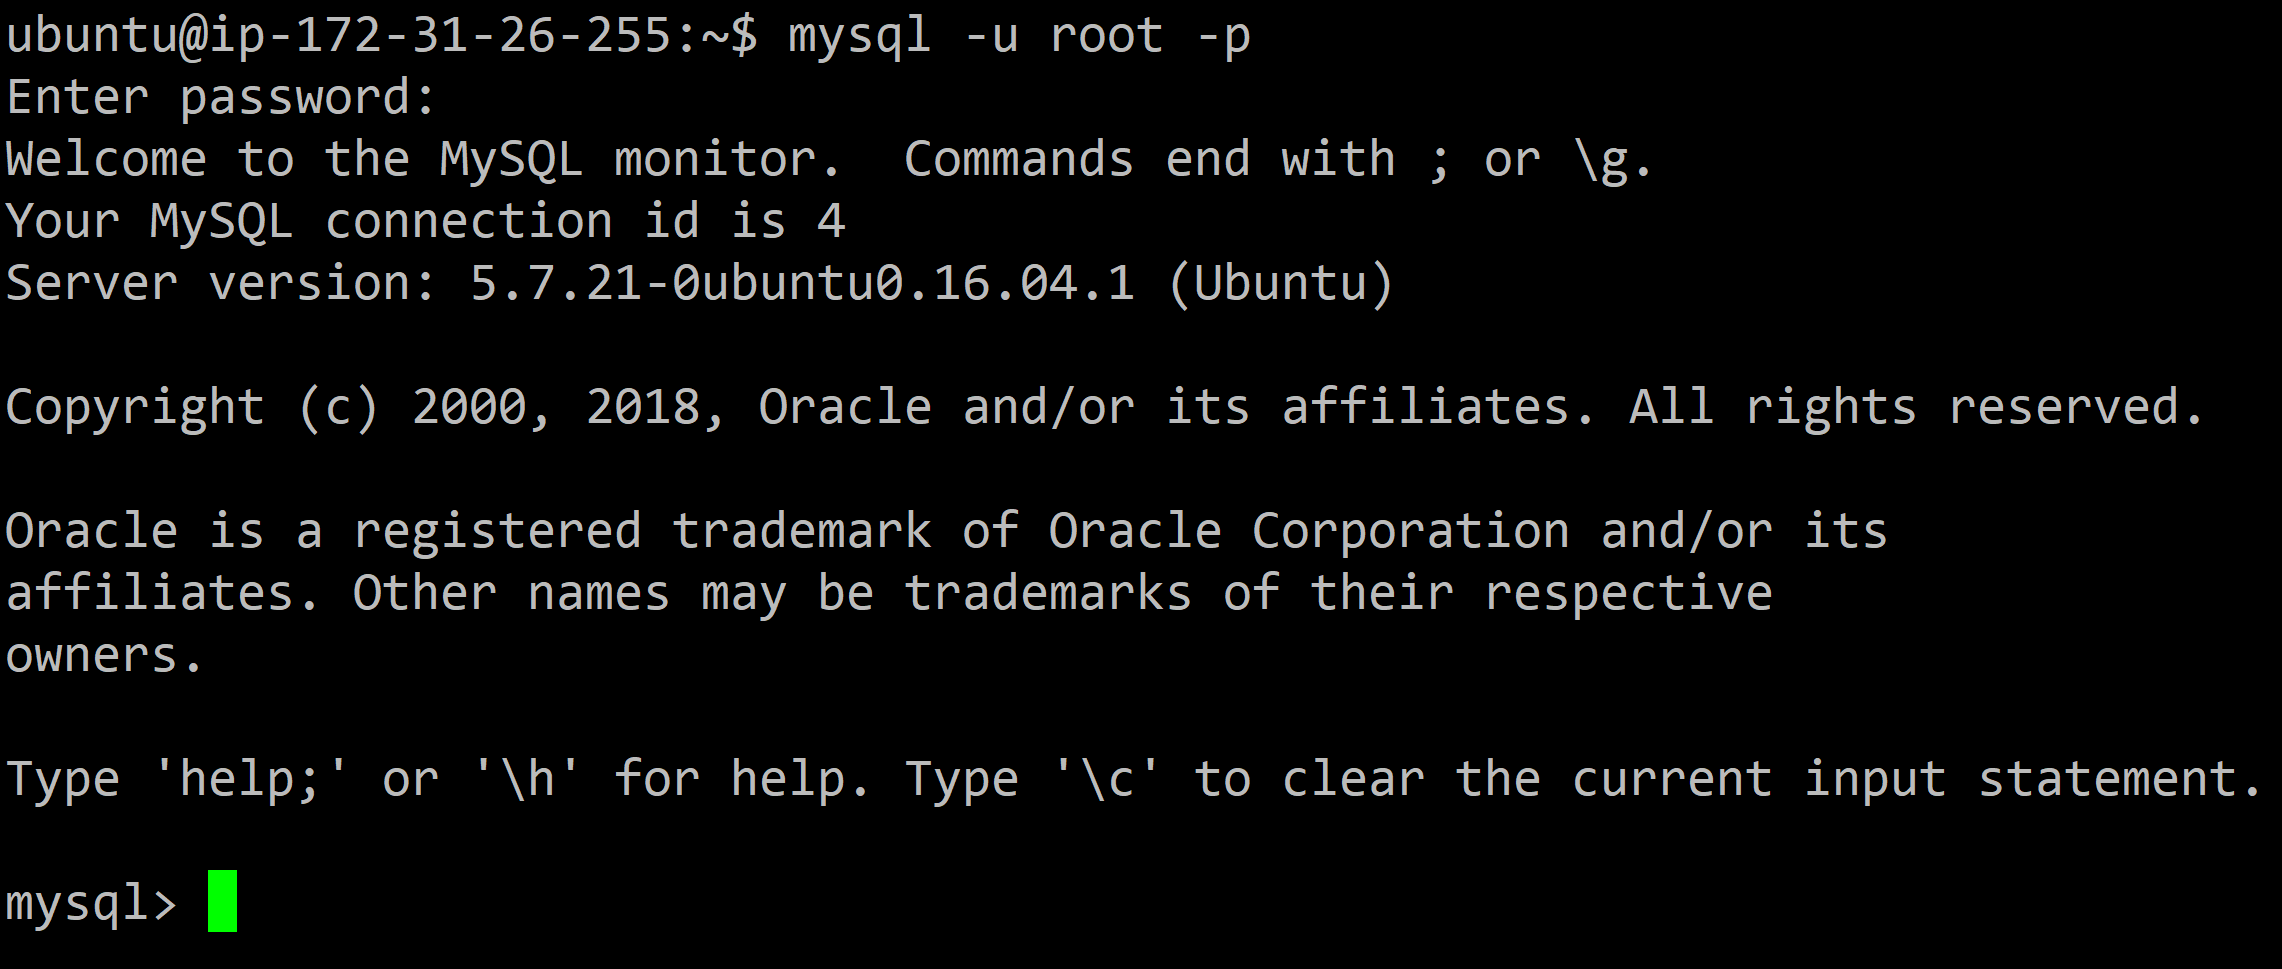
In the terminal, type in the following command to login to MySQL:
```
mysql -u root -p
```
You will be prompted to enter your root password that you created during MySQL installation.
Once log in, enter the following command to create a new user:
```
CREATE USER [user name]@'localhost' IDENTIFIED BY [password];
```
Which can be for example:
```
CREATE USER 'ubuntu'@'localhost' IDENTIFIED BY 'ubuntu';
```
Next, create the movielens database using the movielens.sql code downloaded previously:
```
CREATE DATABASE movielens;
USE movielens;
SOURCE movielens.sql;
```
We can grant all privileges on a certain database for all hosts to this newly created user using the following command:
```
GRANT ALL PRIVILEGES
ON [database name].*
TO 'ubuntu'@'%'
IDENTIFIED BY 'ubuntu';
```
Which in our case can be:
```
GRANT ALL PRIVILEGES
ON movielens.*
TO 'ubuntu'@'%'
IDENTIFIED BY 'ubuntu';
```
This will allow us to use this user with our Sqoop commands for that particular database.
---
# Agent Instructions
This documentation is published with GitBook. GitBook is the documentation platform designed so that both humans and AI agents can read, navigate, and reason over technical content effectively. Learn more at gitbook.com.
## Querying This Documentation
If you need additional information that is not directly available in this page, you can query the documentation dynamically by asking a question.
Perform an HTTP GET request on the current page URL with the `ask` query parameter, and the optional `goal` query parameter:
```
GET https://jheck.gitbook.io/hadoop/introduction_hadoop_mapreduce.md?ask=&goal=
```
`ask` is the immediate question: it should be specific, self-contained, and written in natural language.
`goal` is optional and describes the broader end goal you are ultimately trying to accomplish on behalf of the user. GitBook uses it to tailor the answer towards what is most useful for that goal.
The response will contain a direct answer to the question and relevant excerpts and sources from the documentation.
Use this mechanism when the answer is not explicitly present in the current page, you need clarification or additional context, or you want to retrieve related documentation sections.